


New Veg Plot Starter Course Part 1
Picking the right spot for your plot

So you’ve decided: this is the year you’re going to start your first veg garden! It’s a heady time – a world of possibilities seems to open up before you as you imagine yourself gathering baskets of good food you’ve grown yourself, for (almost) free and with the lowest environmental cost of any food you’ll eat.
It’s a wonderful step to make, and I can tell you now you won’t regret it: you are right at the start of a journey that will last your whole lifetime. Growing your own food is one of the most fulfilling (and occasionally frustrating) things you will ever do. It’s completely addictive, so I’ll warn you now – this new hobby of yours may take over your life.
But hang on a minute. Let’s not get carried away. Put that shiny new spade back in the shed for a moment and sit back down again. This isn't something you want to rush.
Getting to know your growing space is like building a relationship and takes time, especially if it's going to last. First there's the getting-to-know you stuff; the first impression, giving you a good general idea of what you're getting involved with.
Then, when you and your patch are more familiar, those little quirks and foibles emerge – some endearing, some enough to drive you mad. And eventually, when there are no more surprises and you know every inch of your plot as intimately as your own skin, you'll forget there was ever a time when you saw it for the first time.
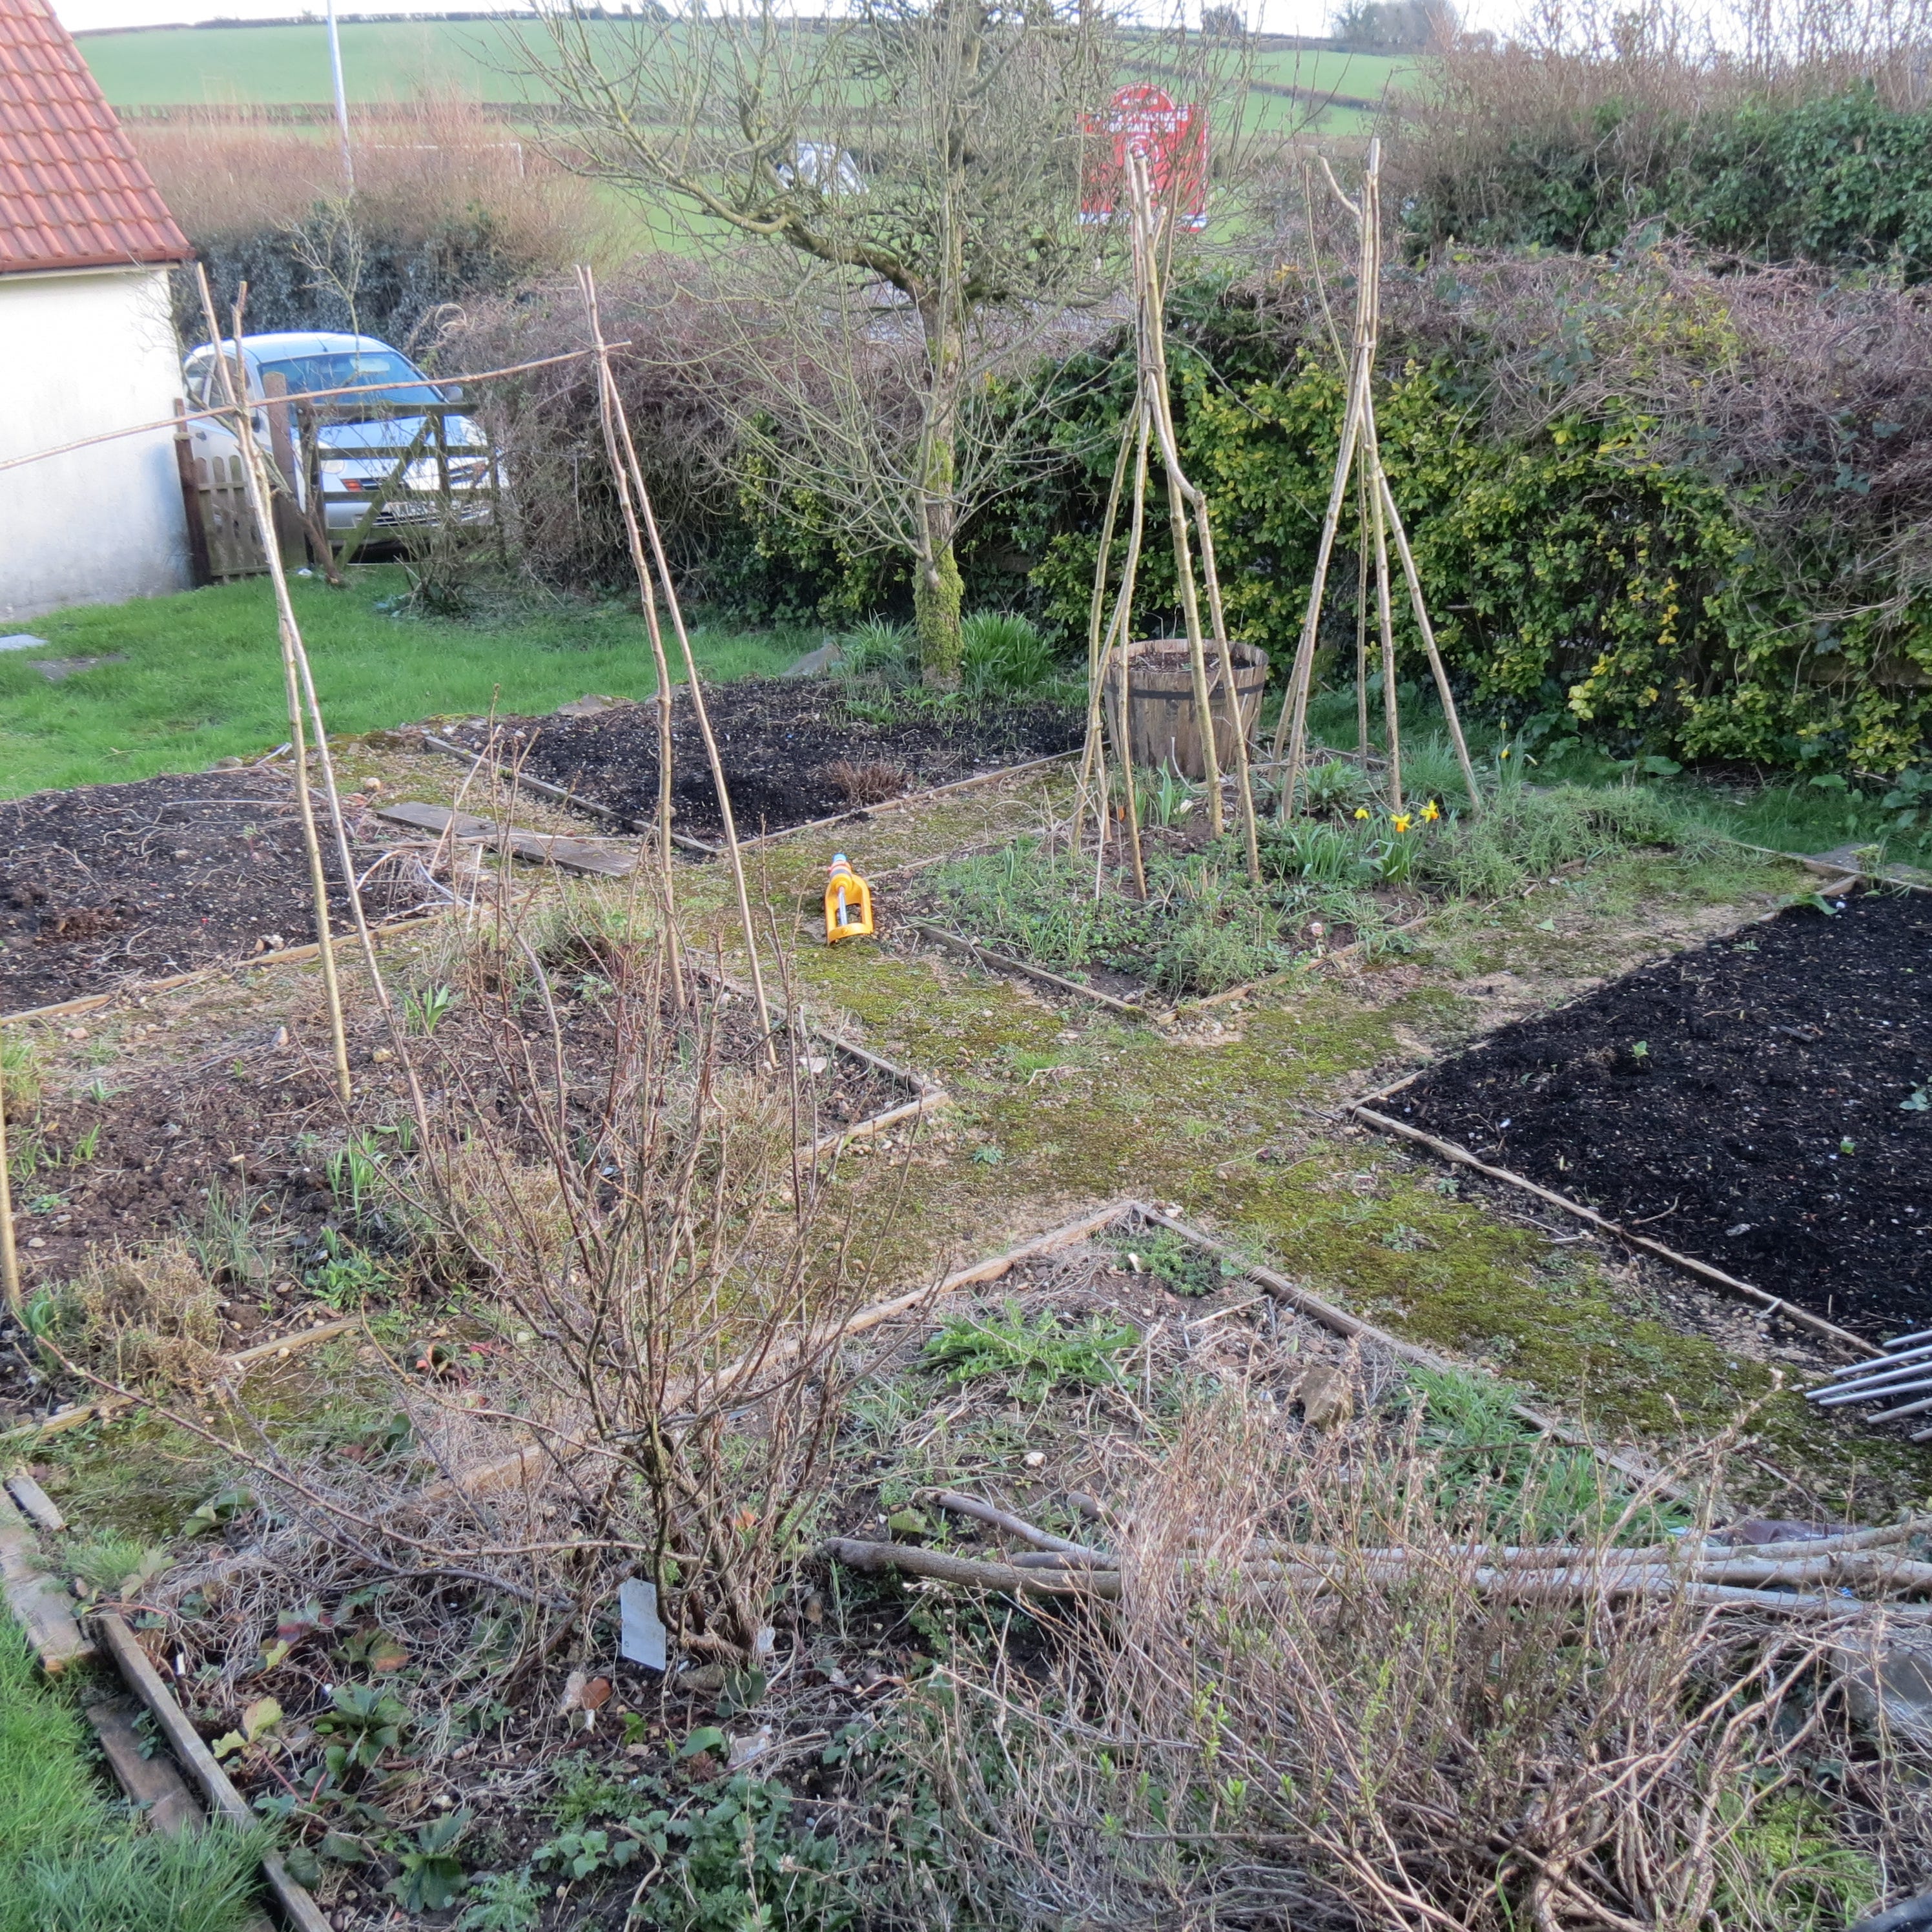
But right now, when it’s just an empty, inviting space, you're still at the 'first impressions' stage. You barely know each other yet: so this is the time to take a step back and assess your new veg garden objectively.
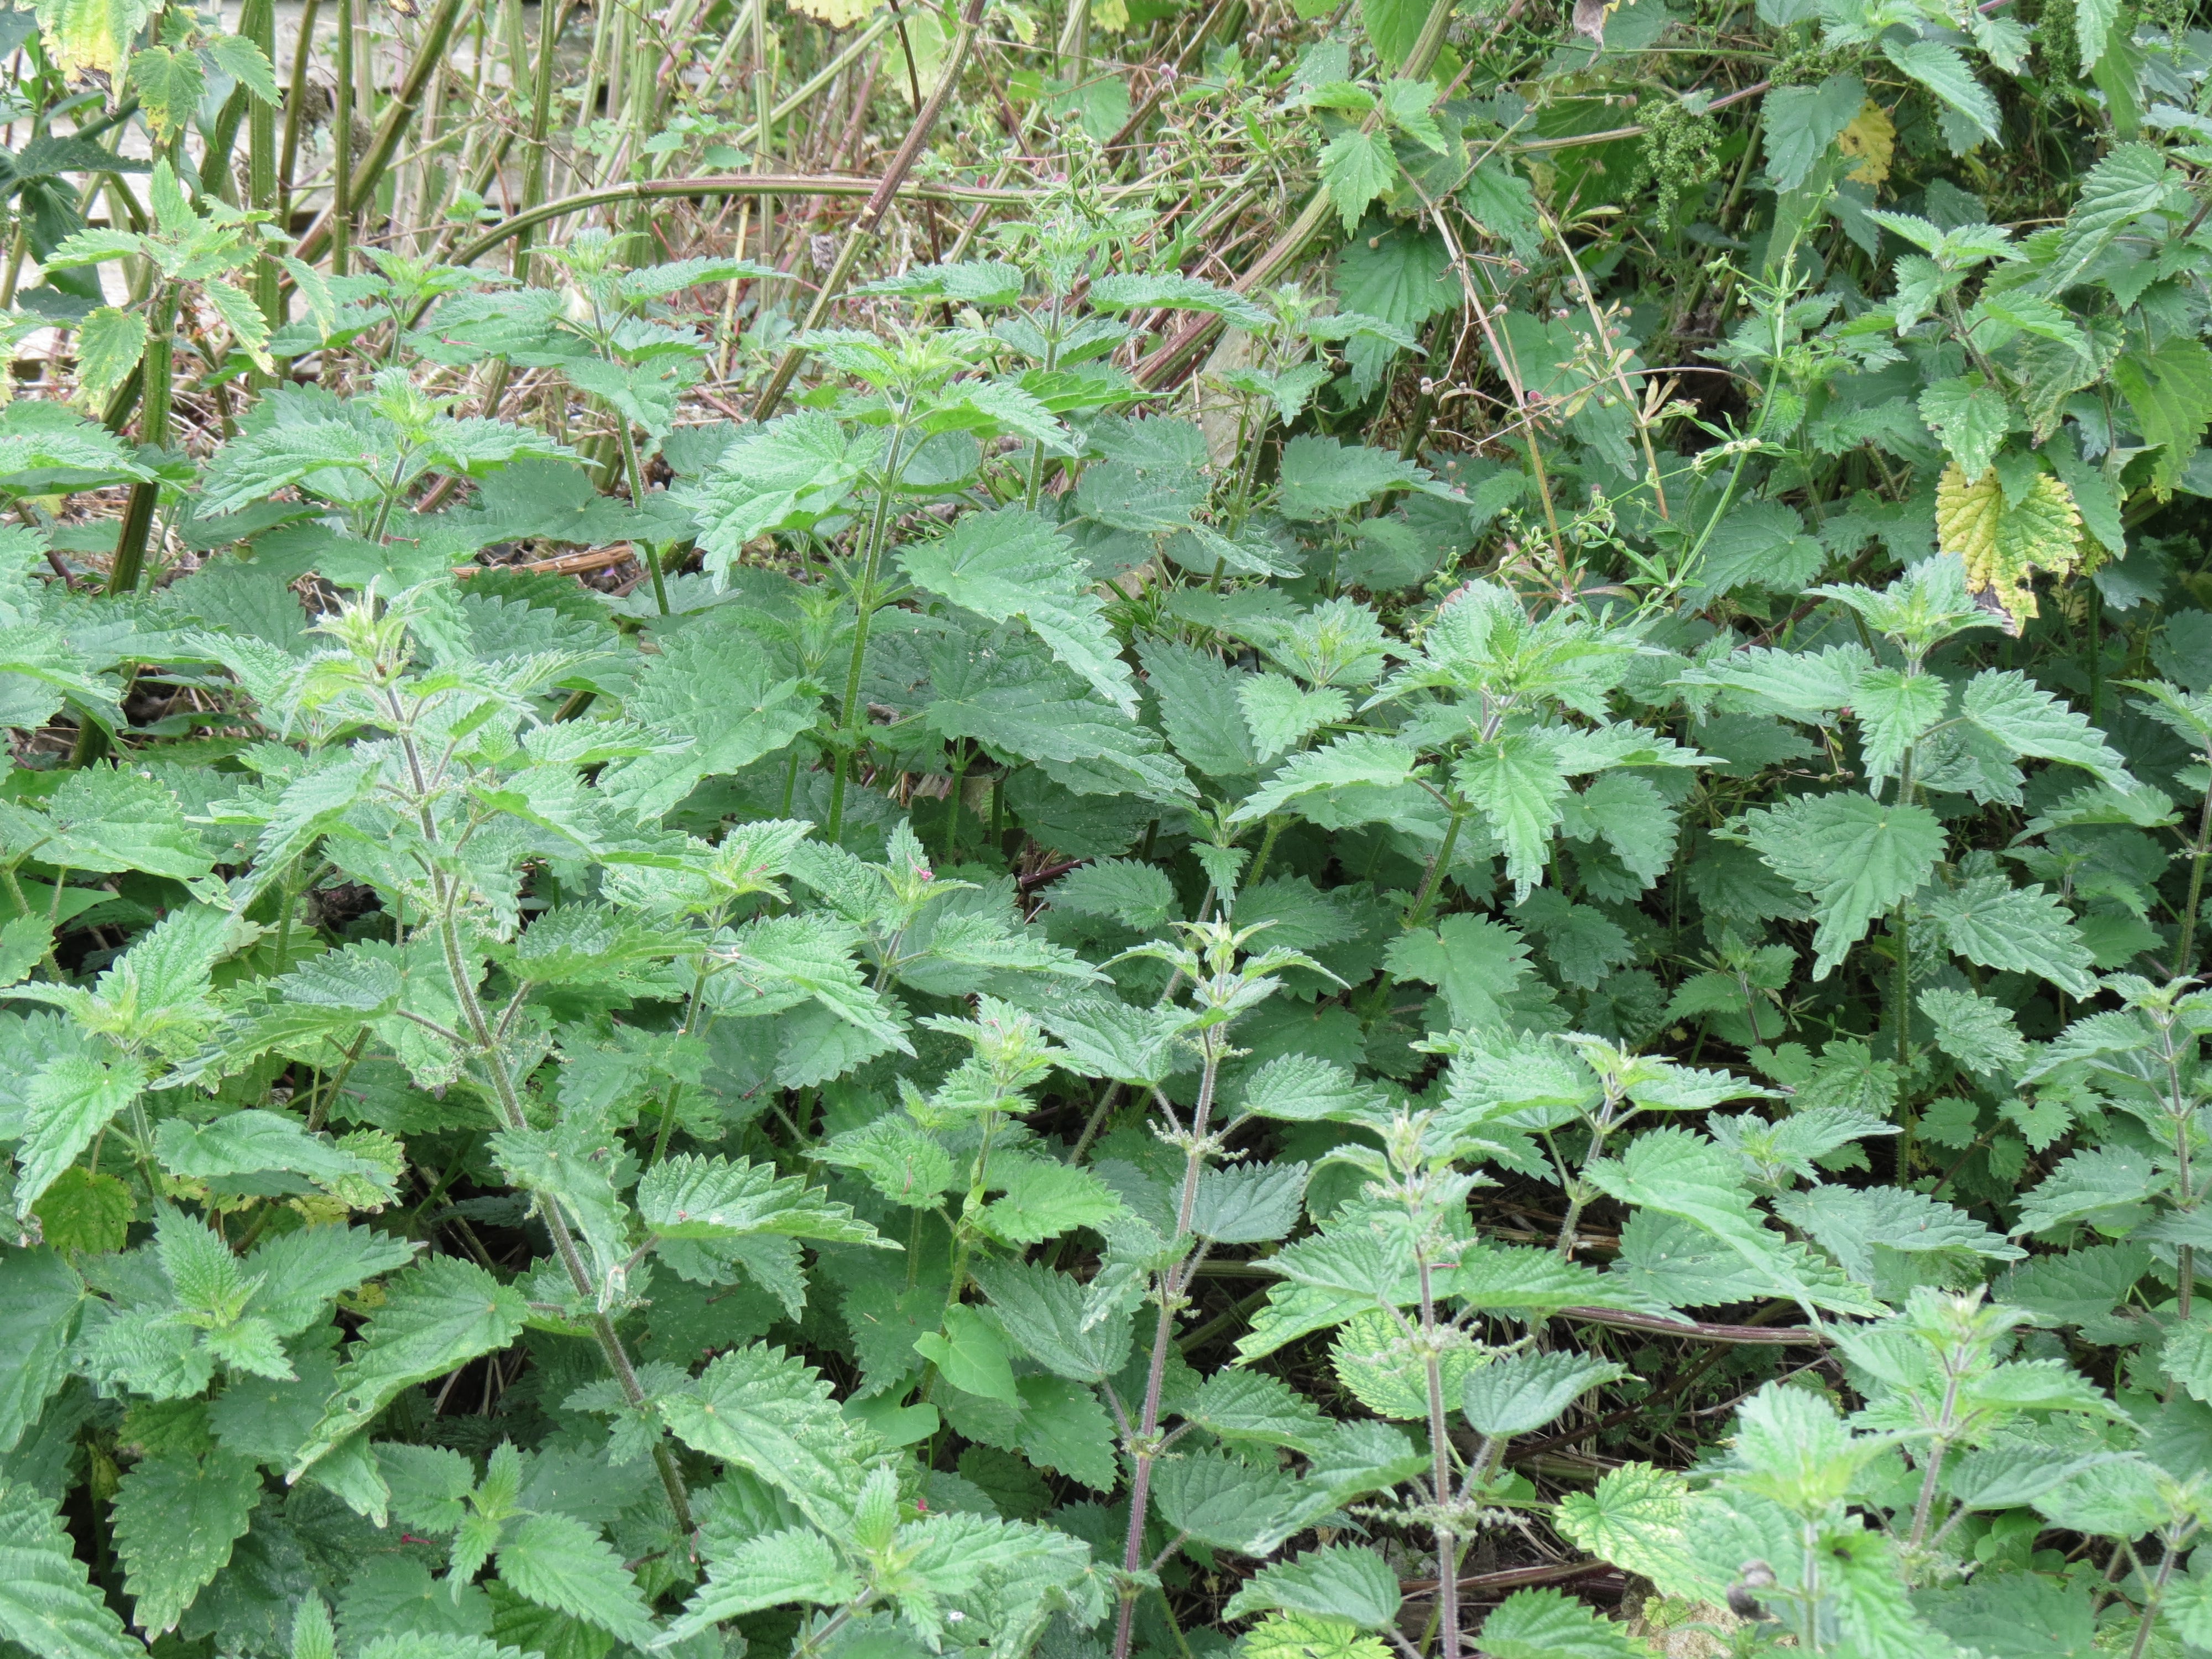
We're not talking cosmetic appearances here. It’s just possible that the growing area you’re looking at is pristine, weed-free, beautifully prepared and ready to sow; but more likely, you’re confronting an expanse of neglect. There may be moth-eaten grass, overgrown shrubs that need clearing, jungles of nettles or brambles or even - as in one veg garden I helped develop - piles of old half-burnt kitchen cupboards (the previous owner was a less-than-scrupulous builder). Don’t worry: generally it looks worse than it is. All these things are reversible given time and a bit of graft.
There are some things you can't change, though, and these are the elements you’ll need to weigh up first, at that point where you’re working out which bit of the garden is best for your veg plot, or (if you’re choosing an allotment) which plot you should accept the lease for.
I’m talking baked in characteristics: the lie of the land, where the sun rises and sets, landscape features nearby such as hedges, trees or rivers, and the bedrock of geology on which it sits - all those things about the site which are completely outside your control.
Your only option is to work with them. The topography of your site will determine what you put where, how you grow things and where you put which crops, so it's essential to get to grips with it before you do anything else.
Here are five big issues you'll need to take into account:
1: Shade
The ideal site faces south and is free of tall fences or trees, bathed in sunlight from morn till night. It doesn't often happen like that.
West-facing plots are as good as south, and east-facing plots get lots of morning light - ideal for most crops, but do watch out for fruit on east facing walls as blossom is easily damaged by early sunlight after a cold night.
It's north-facing plots which are tricky. If you’re looking at a dank, dark, north-facing spot in full shade, walk away, as you'll always struggle.
Most plots, however, are somewhere in between, with a mixture of sunshine and shade. A common situation is a plot of two halves, with one shady side and one sunny side.
The very shadiest bits of the garden are your first choice for sheds and compost bins, which would otherwise take up good growing room. Ponds, too, tend to stay clearer of algae in the shade.
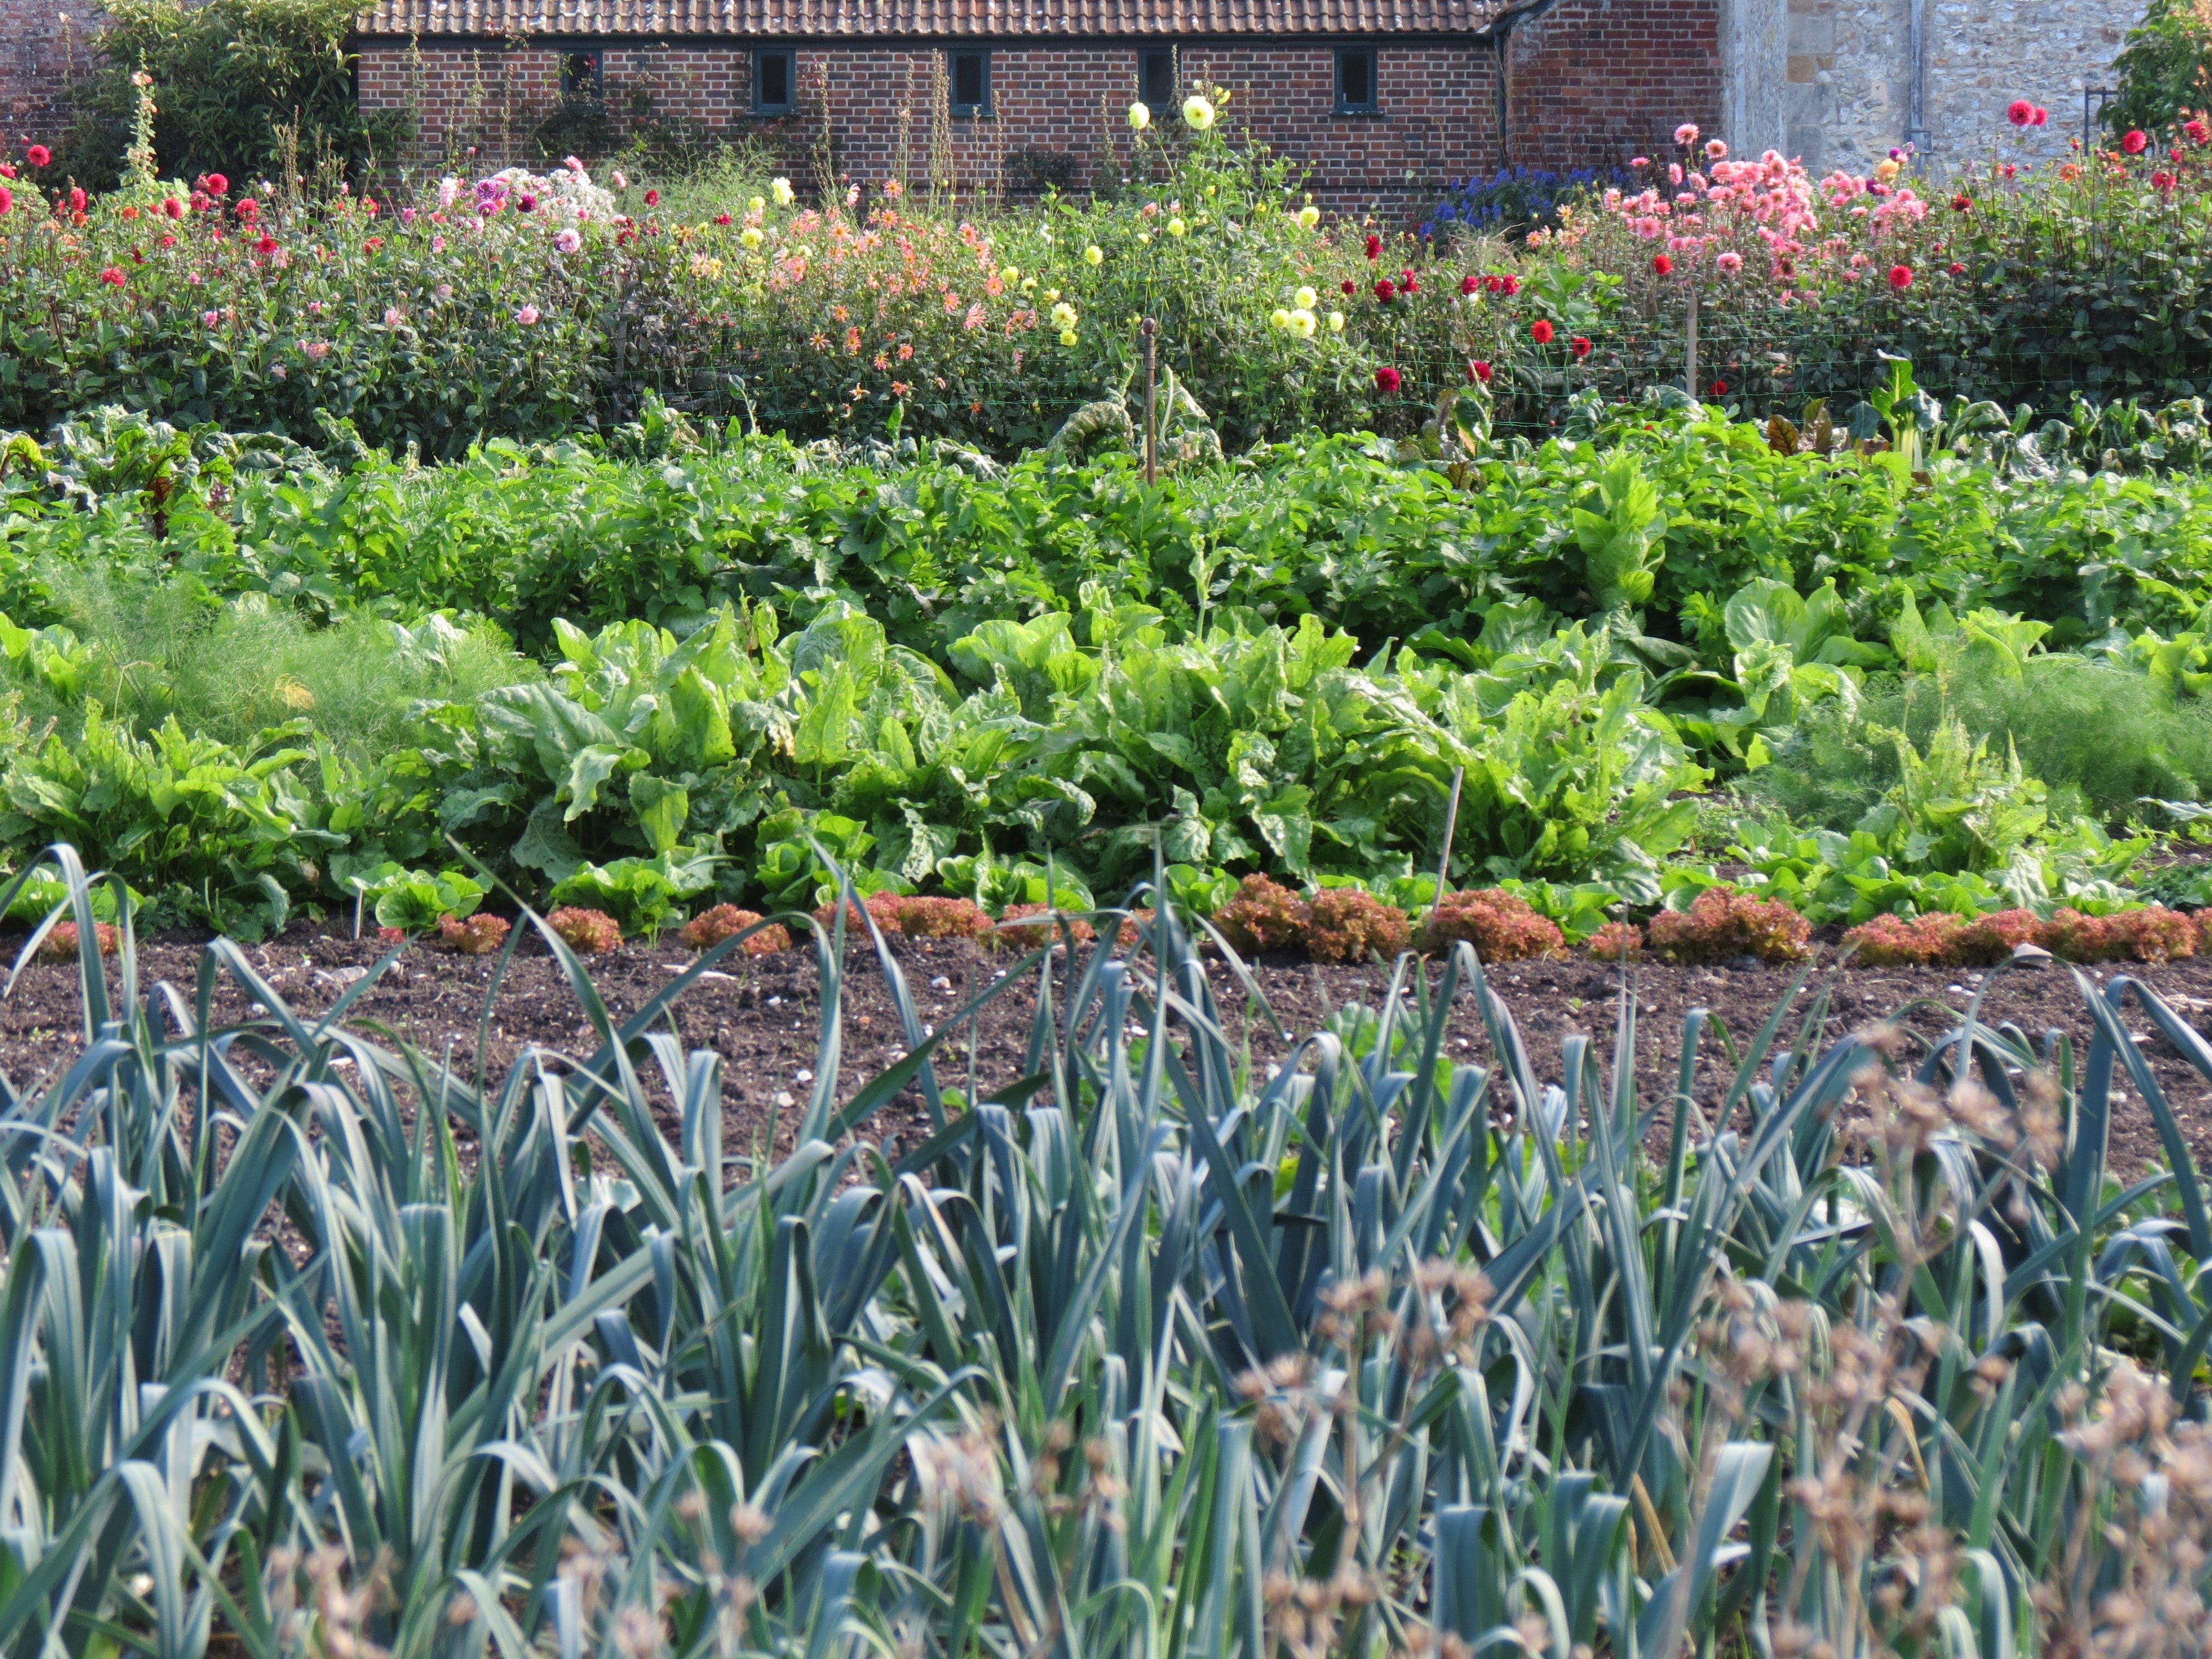
But the remaining, slightly less shady spots can be put to good use producing lots of leafy veg for your table. Though shade is often presented as a problem in the veg garden, it's essential if you want to grow lettuce, parsley, chard or spinach which wilt or bolt in hot sun. Plenty of others, including leeks, kale (and indeed all the brassicas), root veg like beetroot, and fruit like gooseberries and rhubarb are perfectly happy in shade too; and you'll soon find you value your shady bits every bit as much as your sunspots.
Just for the record: ‘full sun’ doesn’t mean from the moment the sun rises till the moment it sets, though that’s nice if you can get it. In fact it means anything more than six hours of sunlight – so if your garden is bathed in sunshine from say midday onwards, that’s considered full sun. Part shade (in which all the above vegetables will thrive) means three to six hours a day. Less than three hours of sunlight and you’re talking deep shade, in which most vegetables will struggle - though if this only happens in winter, it’s usually less of a problem as there’s not much active growth going on.
2: Trees
Established, mature fruit trees are a wonderful thing to have on your new plot: a ready-made and delicious crop ready for you to pick for year after year with minimum effort.
Massive gnarled oaks, on the other hand, might look beautiful but they make growing anything nearby something of a challenge.
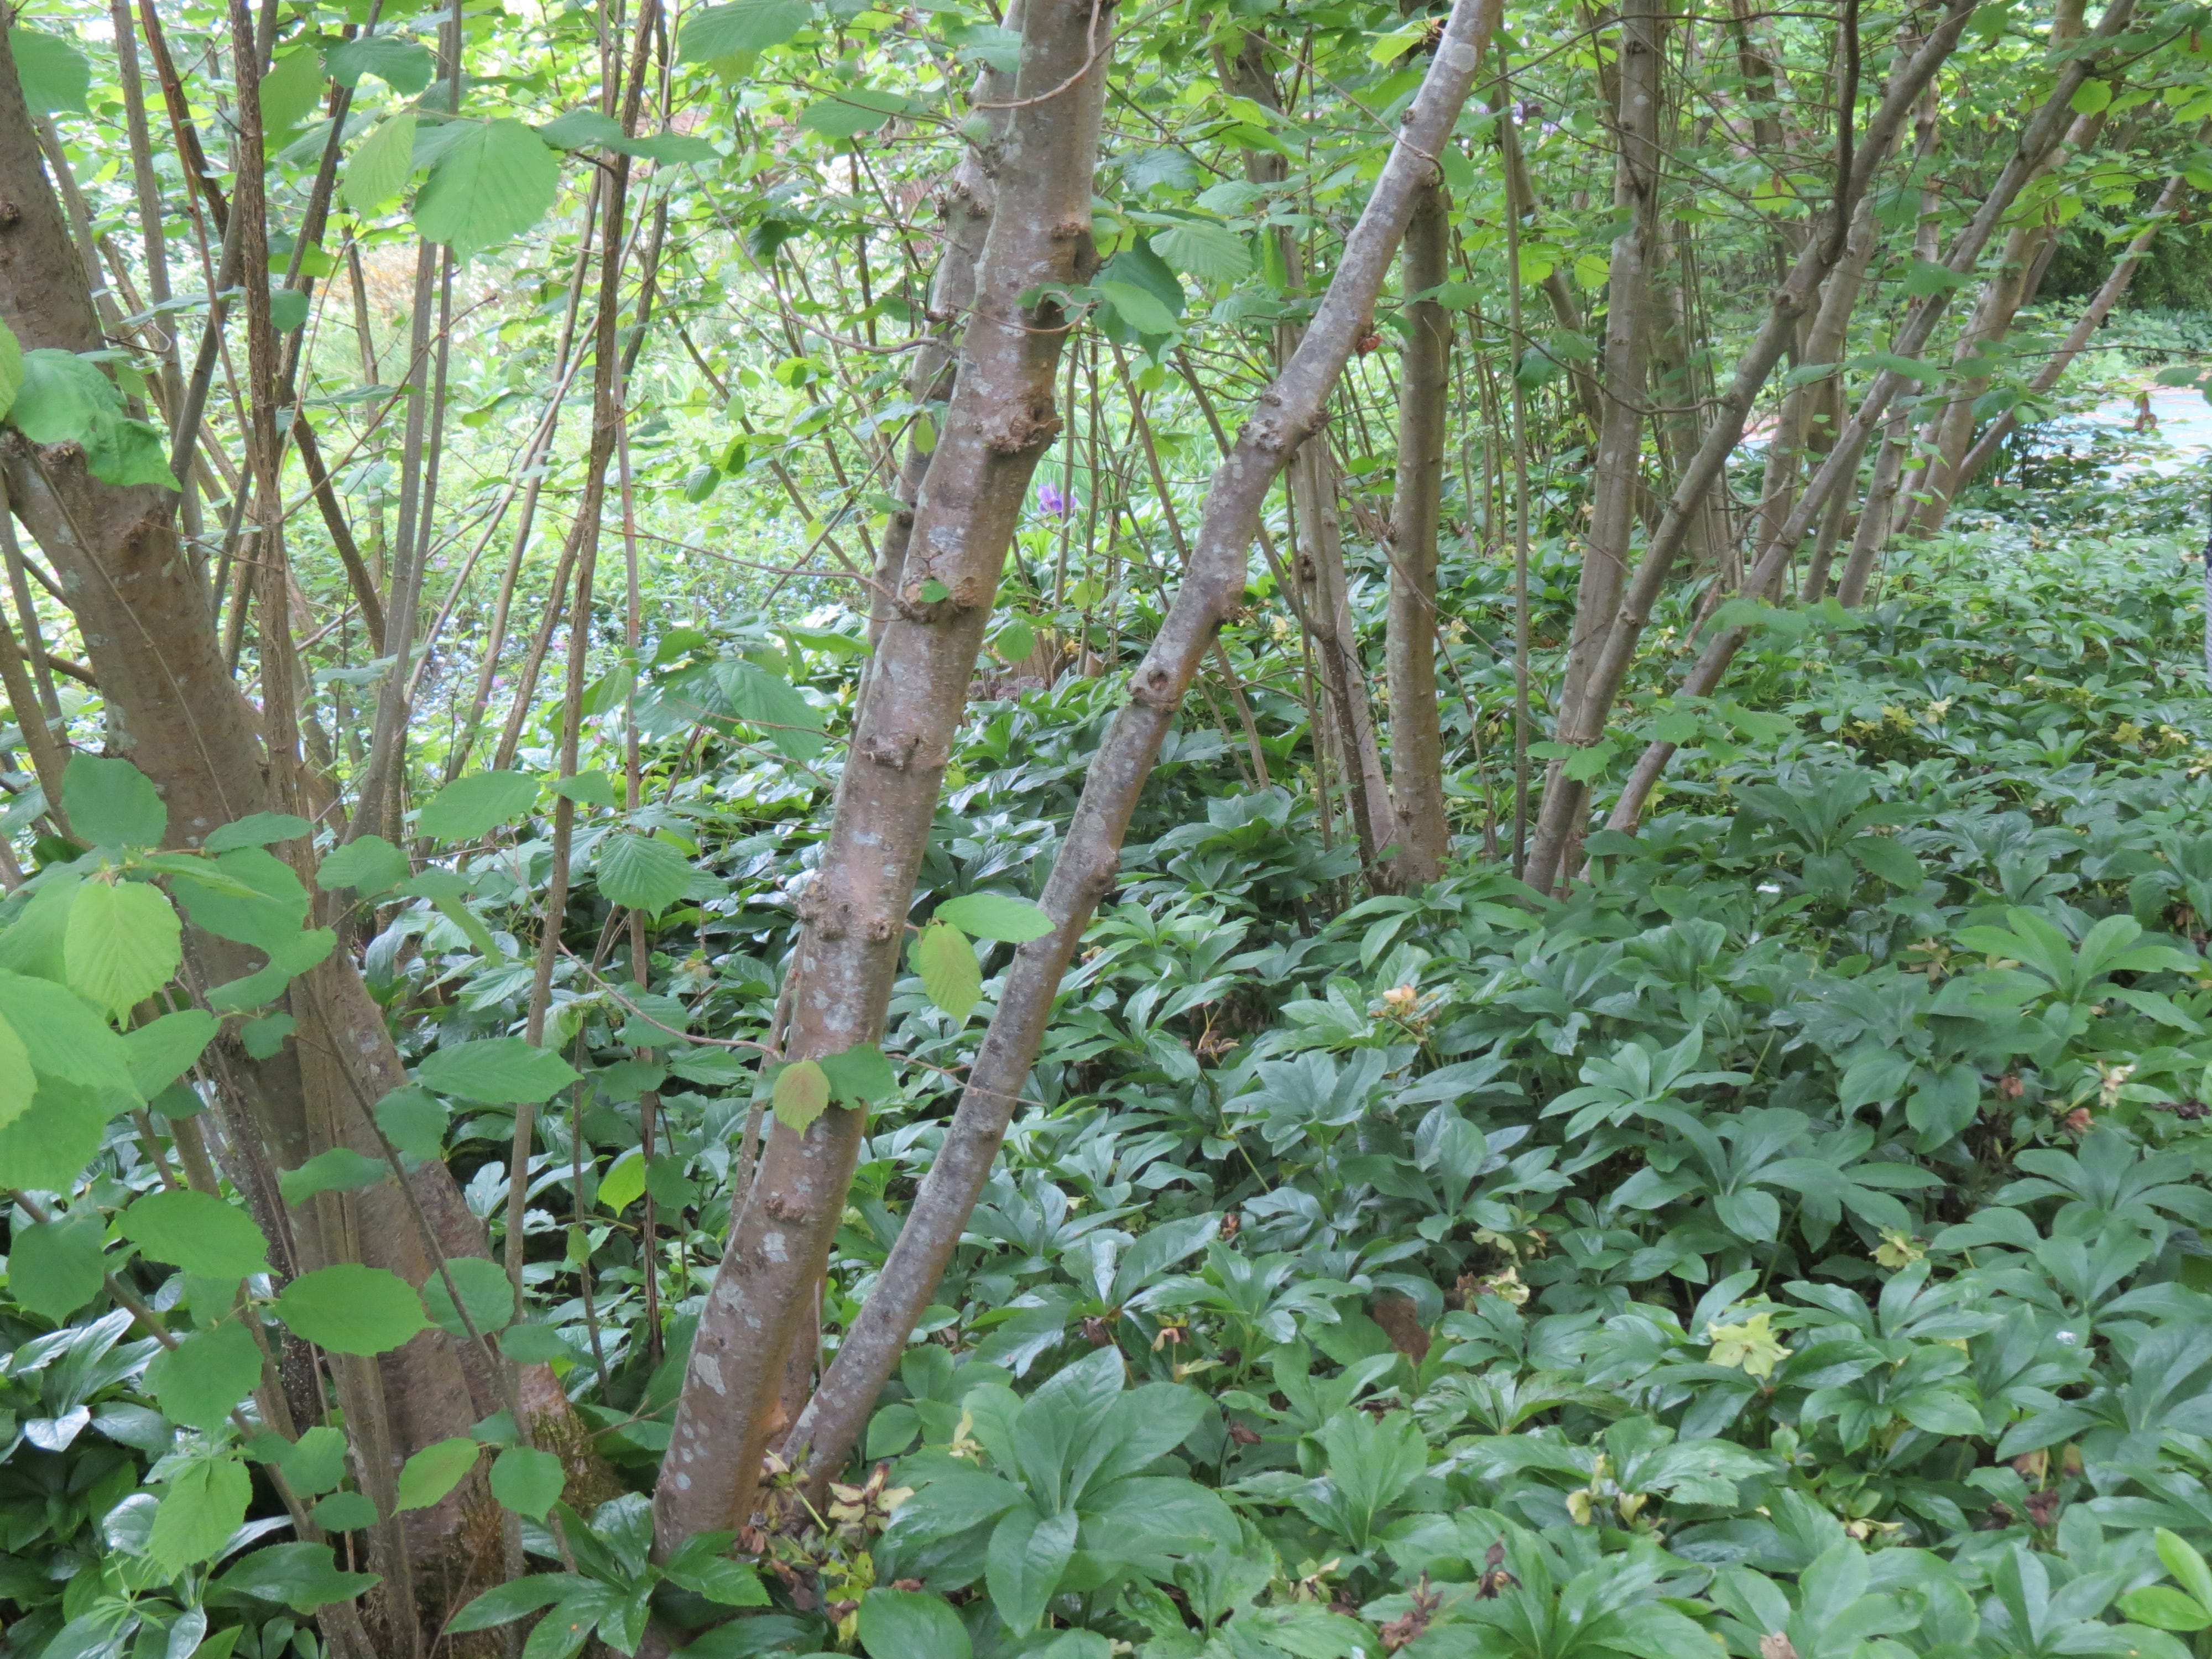
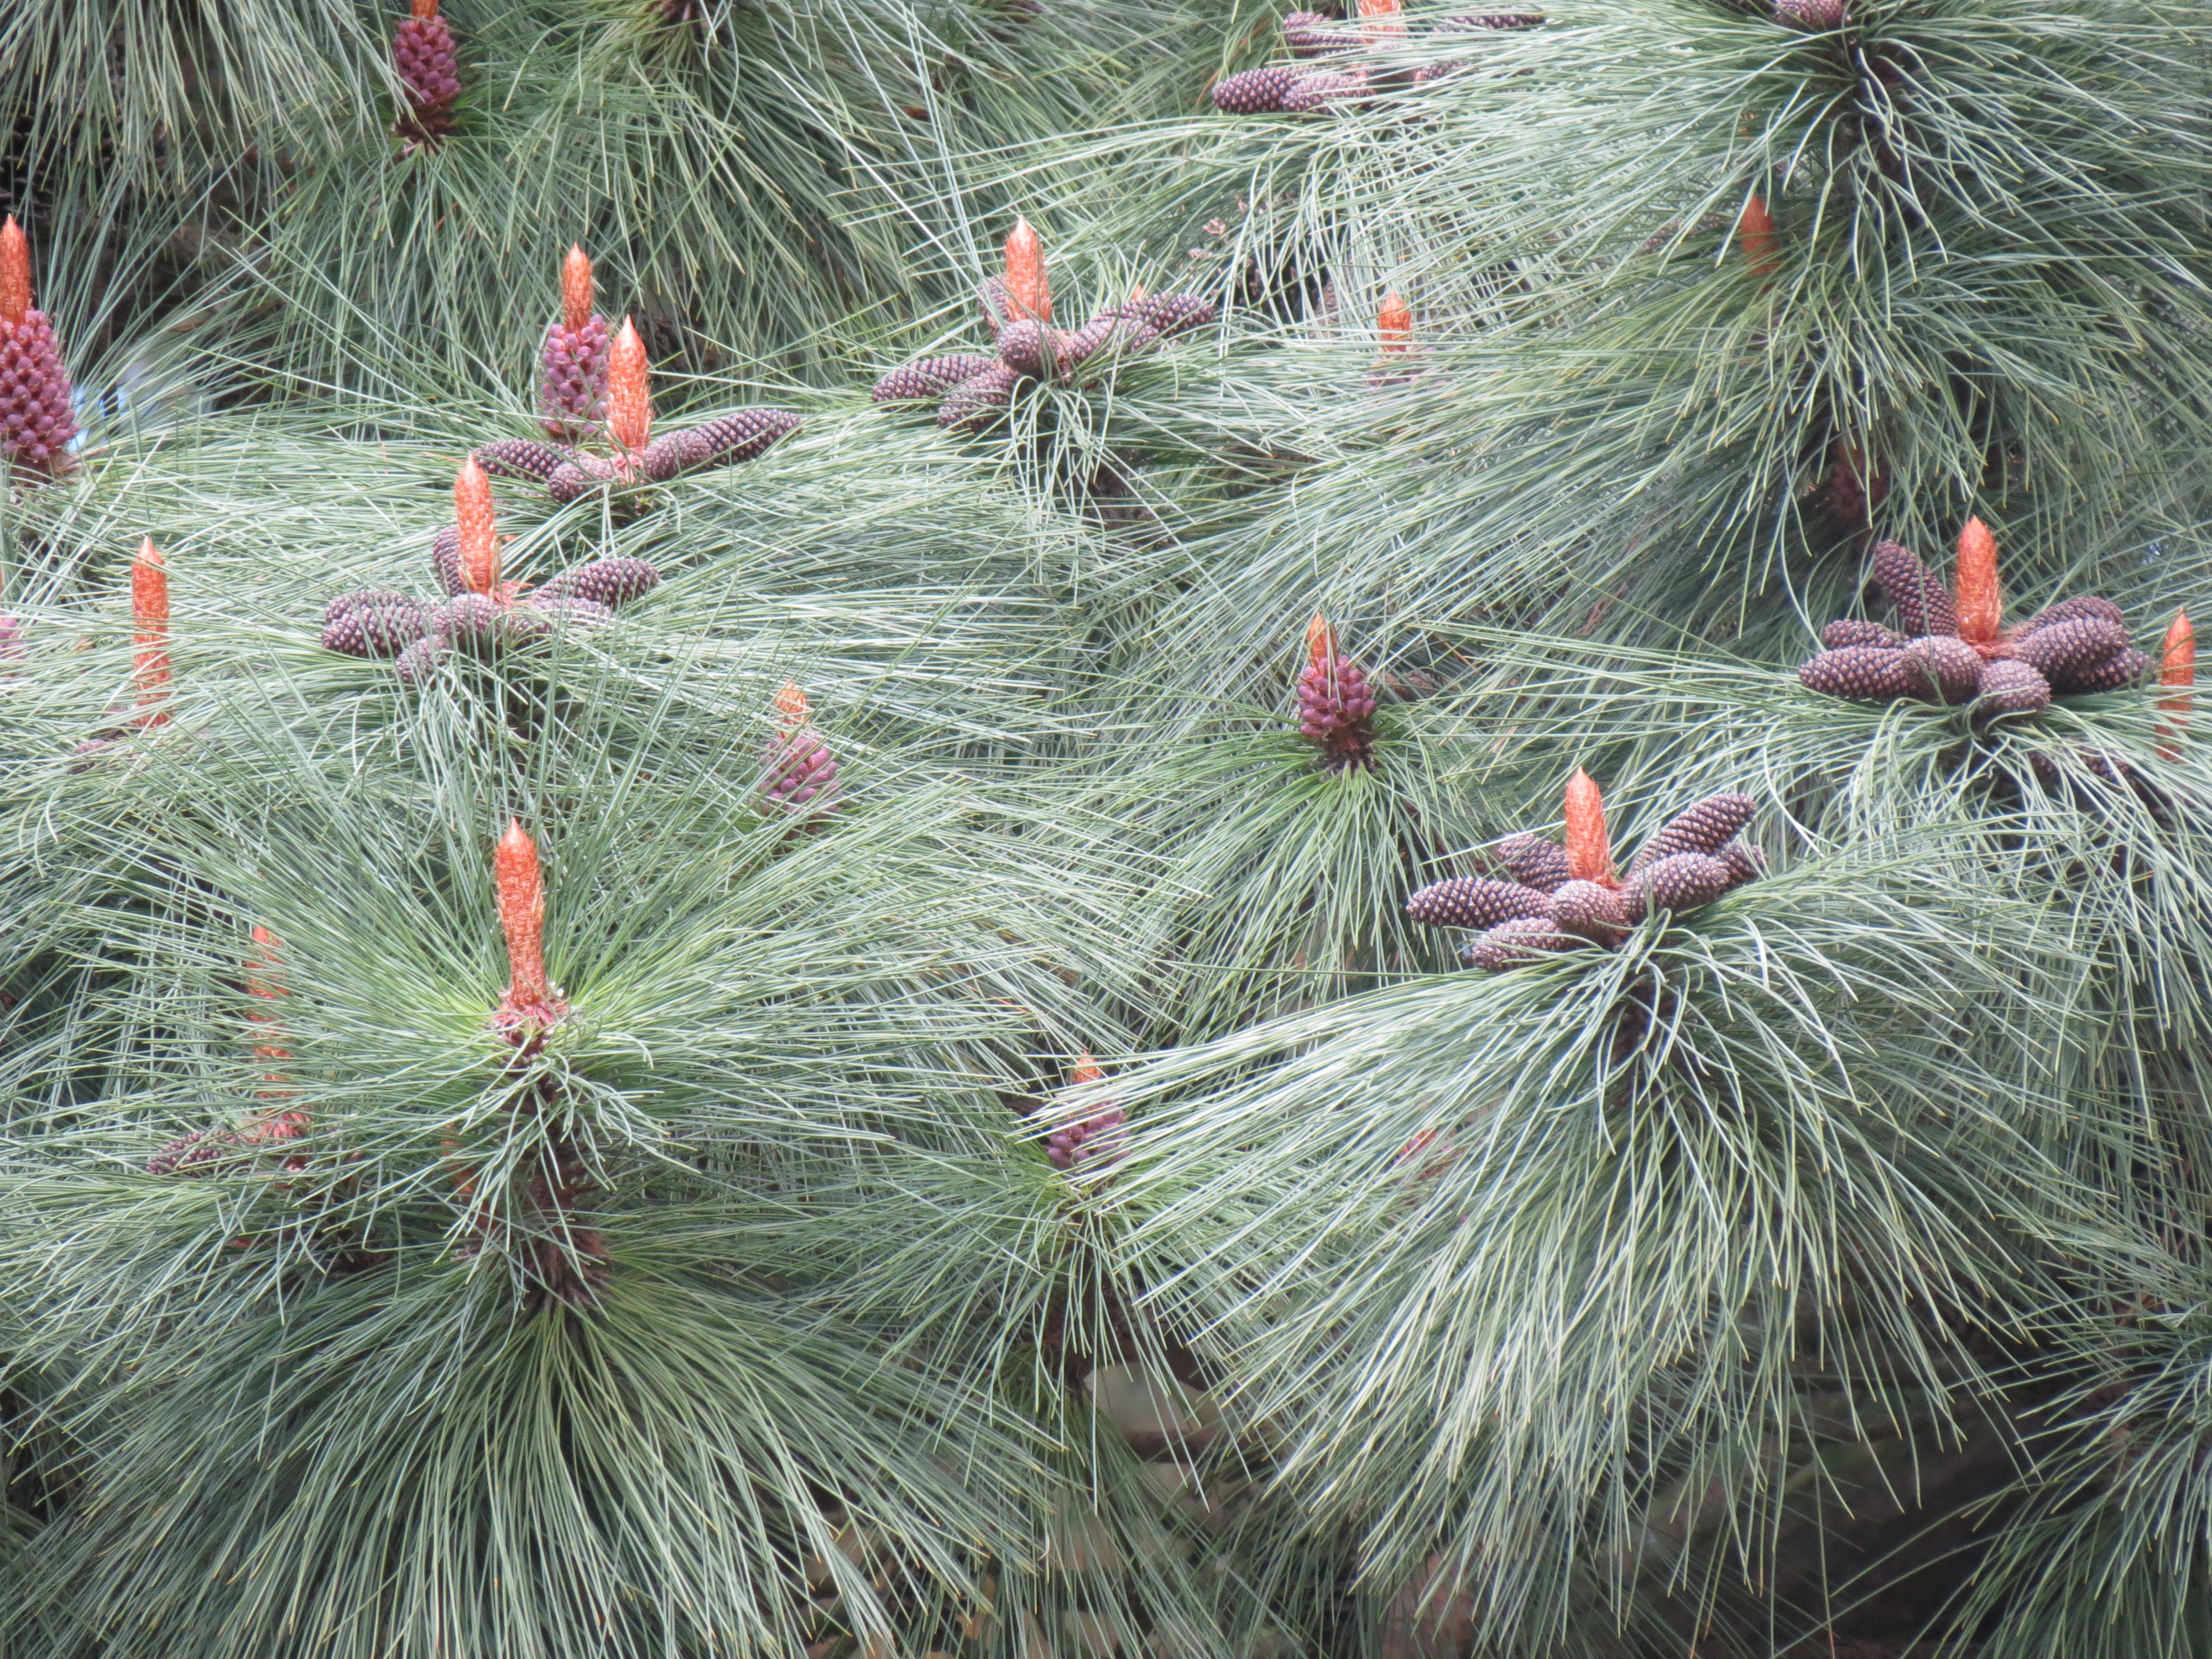
Established trees cast considerable shade and suck moisture out of the soil so fast your crops can't compete. Conifers also shed acidic needles, affecting your soil's pH and making it impossible to grow all but the most acid-loving blueberries underneath (and even then with difficulty, as blueberries need damp soil to do well – not the near-dust you find among tree roots).
Having said that, there are good things about living with trees. They're wonderful wind breaks, and in their shelter you'll find it's calm and cosy – as comfy for your veg as it is for you. And the shade they cast is usually dappled – the ideal kind for growing shade-loving veg in.
Again, the deep shade directly beneath a tree is best used for sheds and compost bins (not ponds though, as you’ll be forever fishing out leaves if you site one under a tree). Large trunks also make wonderful supports for tree seats, the perfect place for sitting and putting your feet up.
Further out, at the edge of the tree’s canopy, you can install raised beds filled with a 50:50 mix of topsoil (ideally dug from elsewhere in your garden, to avoid the high carbon footprint from buying it in) and organic matter such as home-made garden compost or well-rotted manure. This organic matter acts like a sponge, holding on to moisture and counteracting the dry, root-filled soil beneath. Top it up with more compost as a mulch each year, and pay more attention to watering in these spots as the tree’s canopy will also act like an umbrella, diverting a lot of the natural rainfall.
3: Exposed sites
Prevailing winds are an important consideration when you're assessing your plot, as young shoots scorch easily in the teeth of howling gales and fruit trees, taller plants and sheds are easily damaged.
Find out your prevailing wind by tying a strip of cotton material to a post and watching it for a few days. It should be obvious which way the wind usually blows; by moving the post around the plot you can also discover where it's at its strongest.
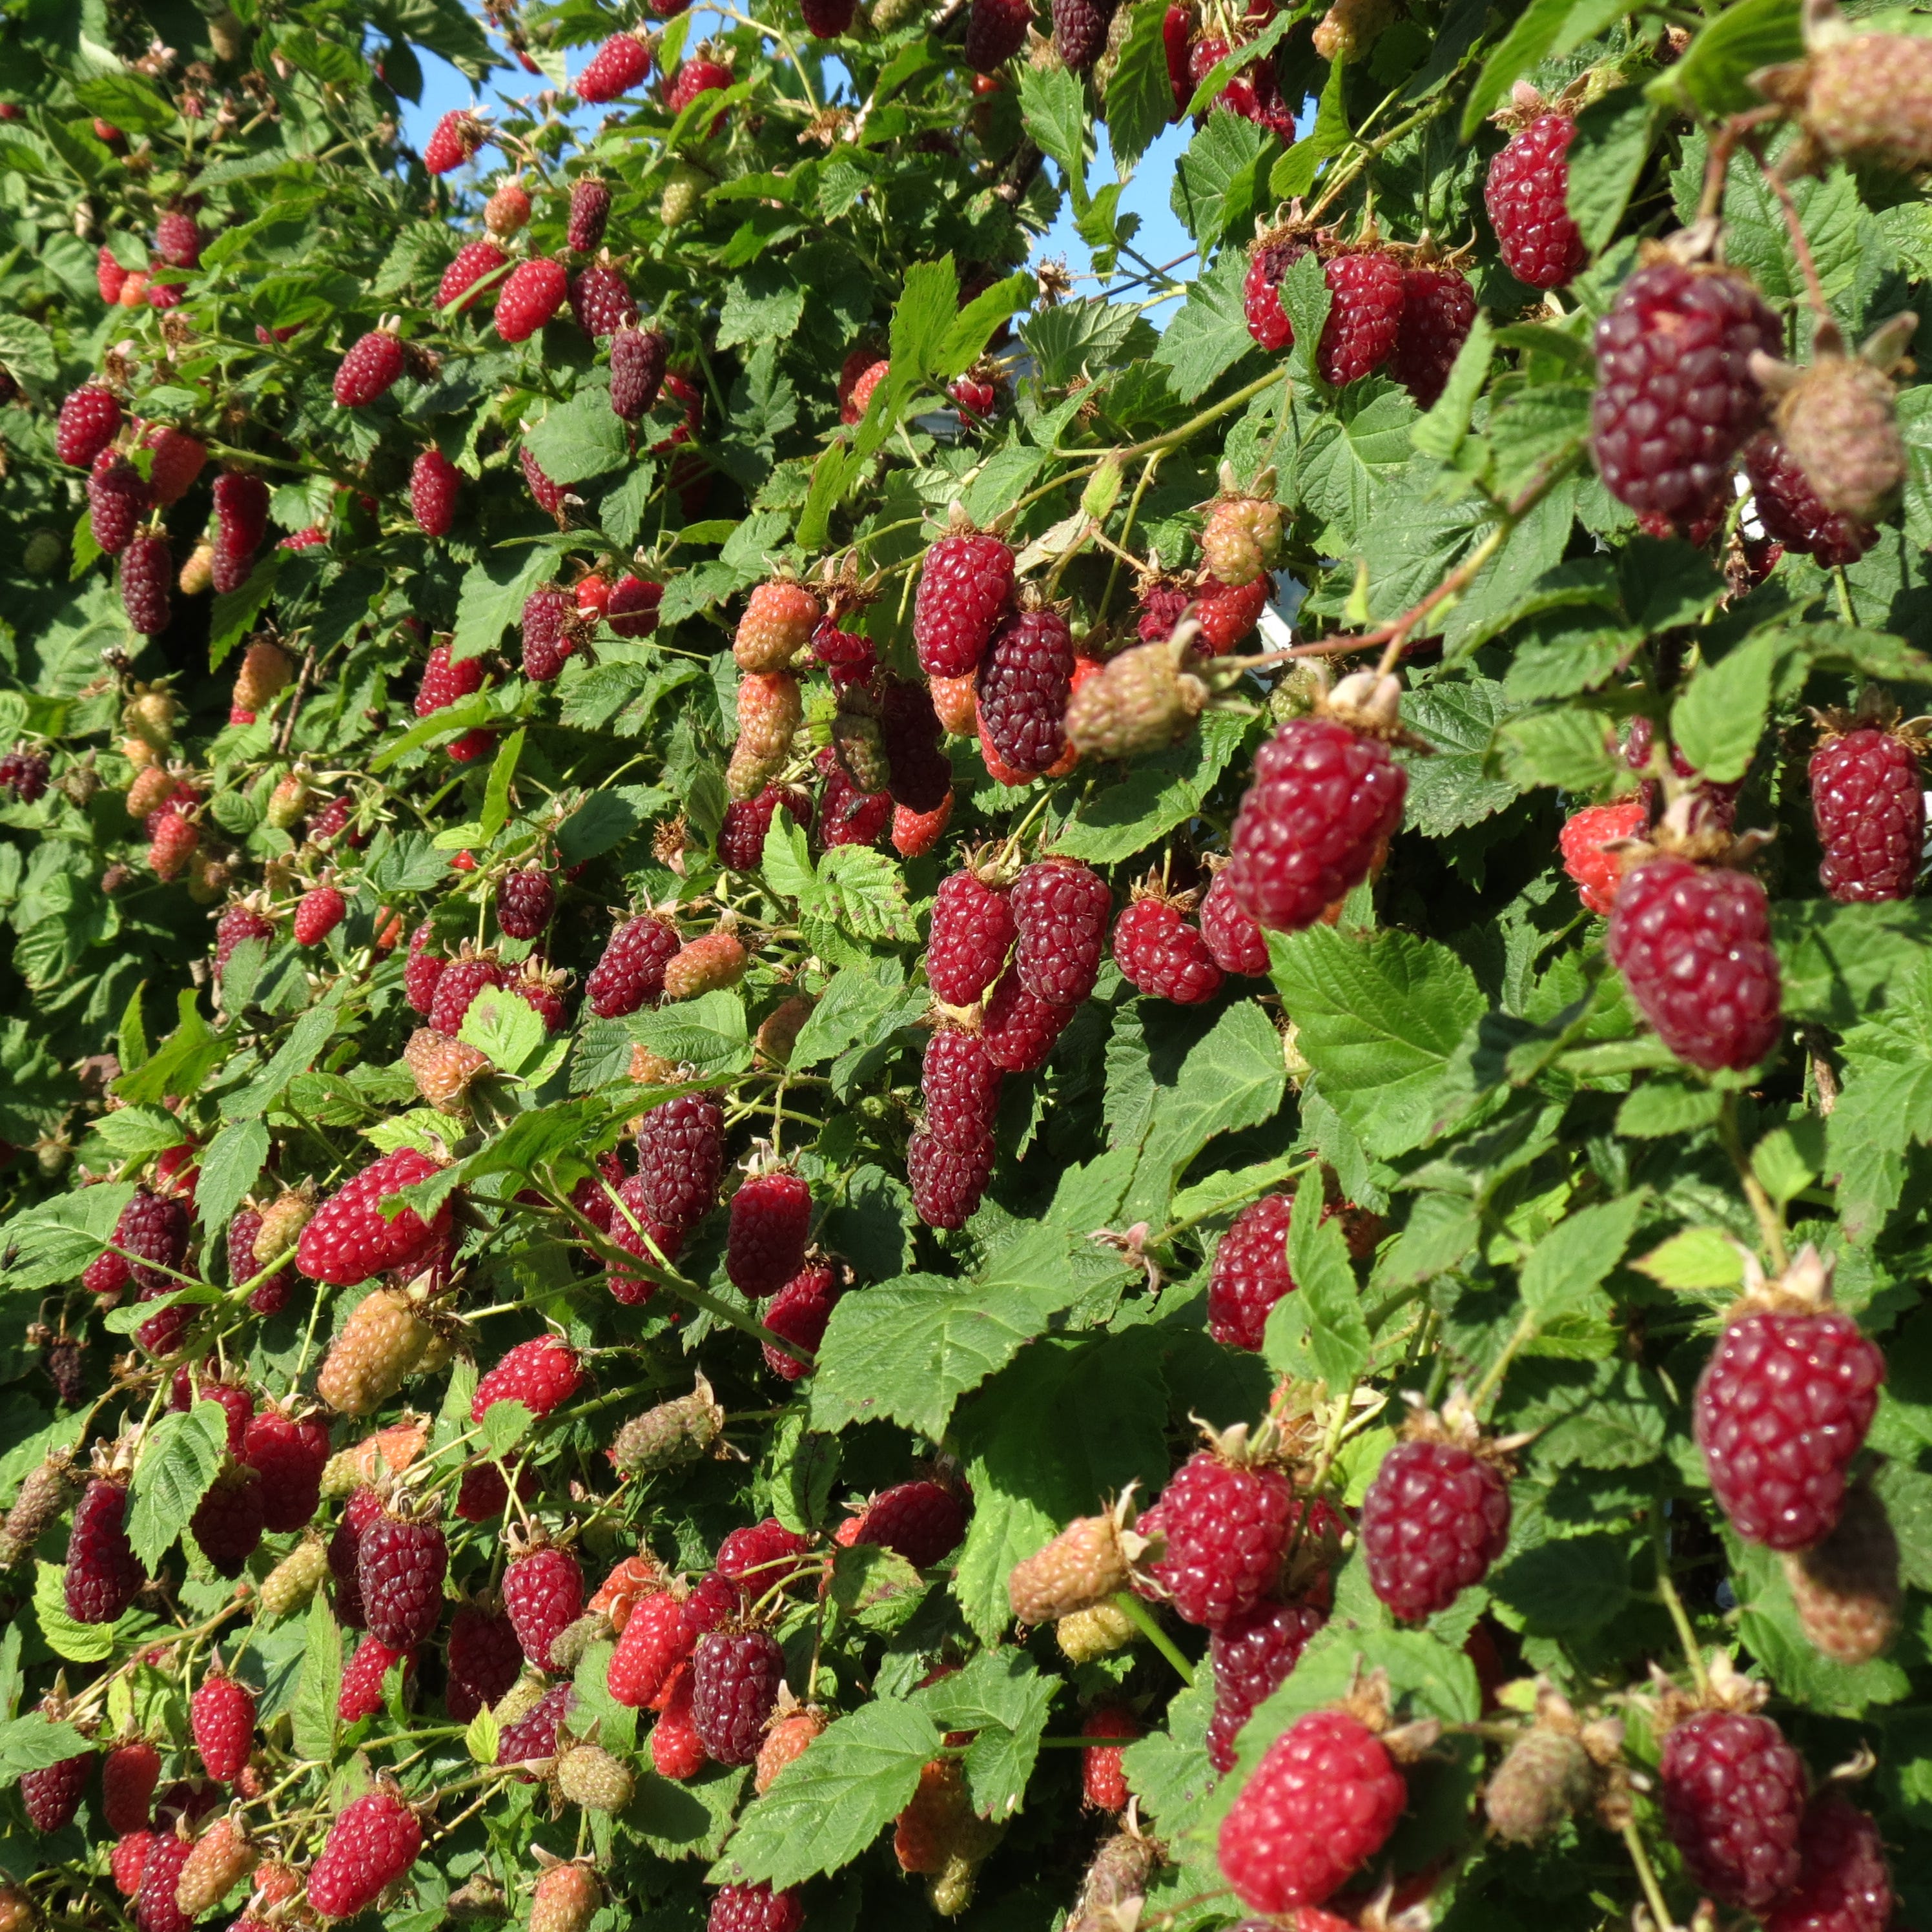
Planting taller plants on the windward side of vulnerable crops is the easiest way to protect them. Rows of Jerusalem artichokes, blackcurrant bushes or tough blackberry or loganberry canes trained onto free-standing post and wire fences break up the force of the wind.
Slatted fences such as woven hazel hurdles slow the wind better than solid barriers which can create turbulence on the lee side. They’re also pretty nearly carbon neutral and easy to find locally (look up your local woodland coppice group at coppice-products.co.uk).
Hedging is even better, actively storing carbon as they grow. Edible hedges use the space productively, too. Almost all hedges, but particularly wild ‘n’ woolly mixed native hedges shelter birds and other creatures which will pay you back by hoovering up slugs, caterpillars and aphids for the rest of the year. Hedges aren’t always practical on a smaller plot as they take up a good 75cm-1m of garden space around the edges. They also take a few years to establish, so in the meantime, put up temporary permeable windbreaks made from woven willow screening or hazel.
4: Slopes
It's quite common to find your plot is on a gentle slope, and usually you'll hardly notice. But if getting from one end to the other leaves your calf muscles straining, you're facing a bigger challenge.
Slopes are difficult to work on, and prone to erosion as rain washes topsoil off higher areas leaving them stony and low in nutrients. Water levels also vary dramatically, from bone-dry at the top to waterlogged at the bottom.
Terraced raised beds, stepped up the slope, create level areas for planting, and gently-sloping paths zig-zagging up the hill between them make access easier for you.
Building retaining walls is more complicated than it would at first appear: all the forces at play, from gravity to the sheer weight of all that soil, want to push walls down the hill, so they need serious engineering to make them stay put. Get the professionals in to do anything on a large scale, but smaller projects should be within reach of anyone reasonably competent at DIY. There’s some very sensible advice on building terrace walls here
Sustainable options for your terracing walls include old scaffold boards, reclaimed floorboards, second-hand bricks or repurposed stone. Build them sturdy and use reclaimed steel retaining rods as reinforcement. Make your terracing as gradual as possible, to minimise the weight of soil each wall has to hold back. Start with the lowest terrace, build up the front edge until it's level with the back, then fill it with soil dug out when levelling the next terrace up - a technique known as cut-and-fill.
Terraces create the perfect flat bed for you to plant into. They are also very fertile, as soil nutrients are held in where they're needed, and free-draining: ideal conditions for bumper crops.
5: Drainage
As we all know after this winter – and no doubt many more extreme climate events to come - it's frustrating being forced off your plot in winter by sheets of standing water, and terrible for your crops. Fruit bushes and trees drown, and soil is left airless, capped and leached of nutrients when the flood subsides.
On free-draining soils, you may get away with even quite prolonged rainfall: my gritty chalk gets a bit sloshy but that’s it, even when everything around me is under water. Other soil, such as clay, is less forgiving, so it’s worth finding out from the start which you’ve got, so you know whether to take precautions.
To test how well your plot drains, dig a hole 50cm deep and fill with water. If it's still there next day, you've got flood-prone soil.
Open up claggy clay soils by regularly mulching with plenty of compost or well-rotted manure – about a barrowload per square metre. This gradually works in to the soil over the years, holding open drainage spaces within the clay and allowing water to percolate through.
In really wet soils, raised beds help lift crops clear of soggy subsoil. It often helps to dig a ditch along the lowest side of a particularly waterlog-prone spot. Excavate a channel around 30cm deep across the bottom edge of the area, ideally sloping towards a soakaway - a hole filled with builders' rubble which the water can drain into. You may need to re-open the ditch each year as the wettest weather arrives, to keep it working well.
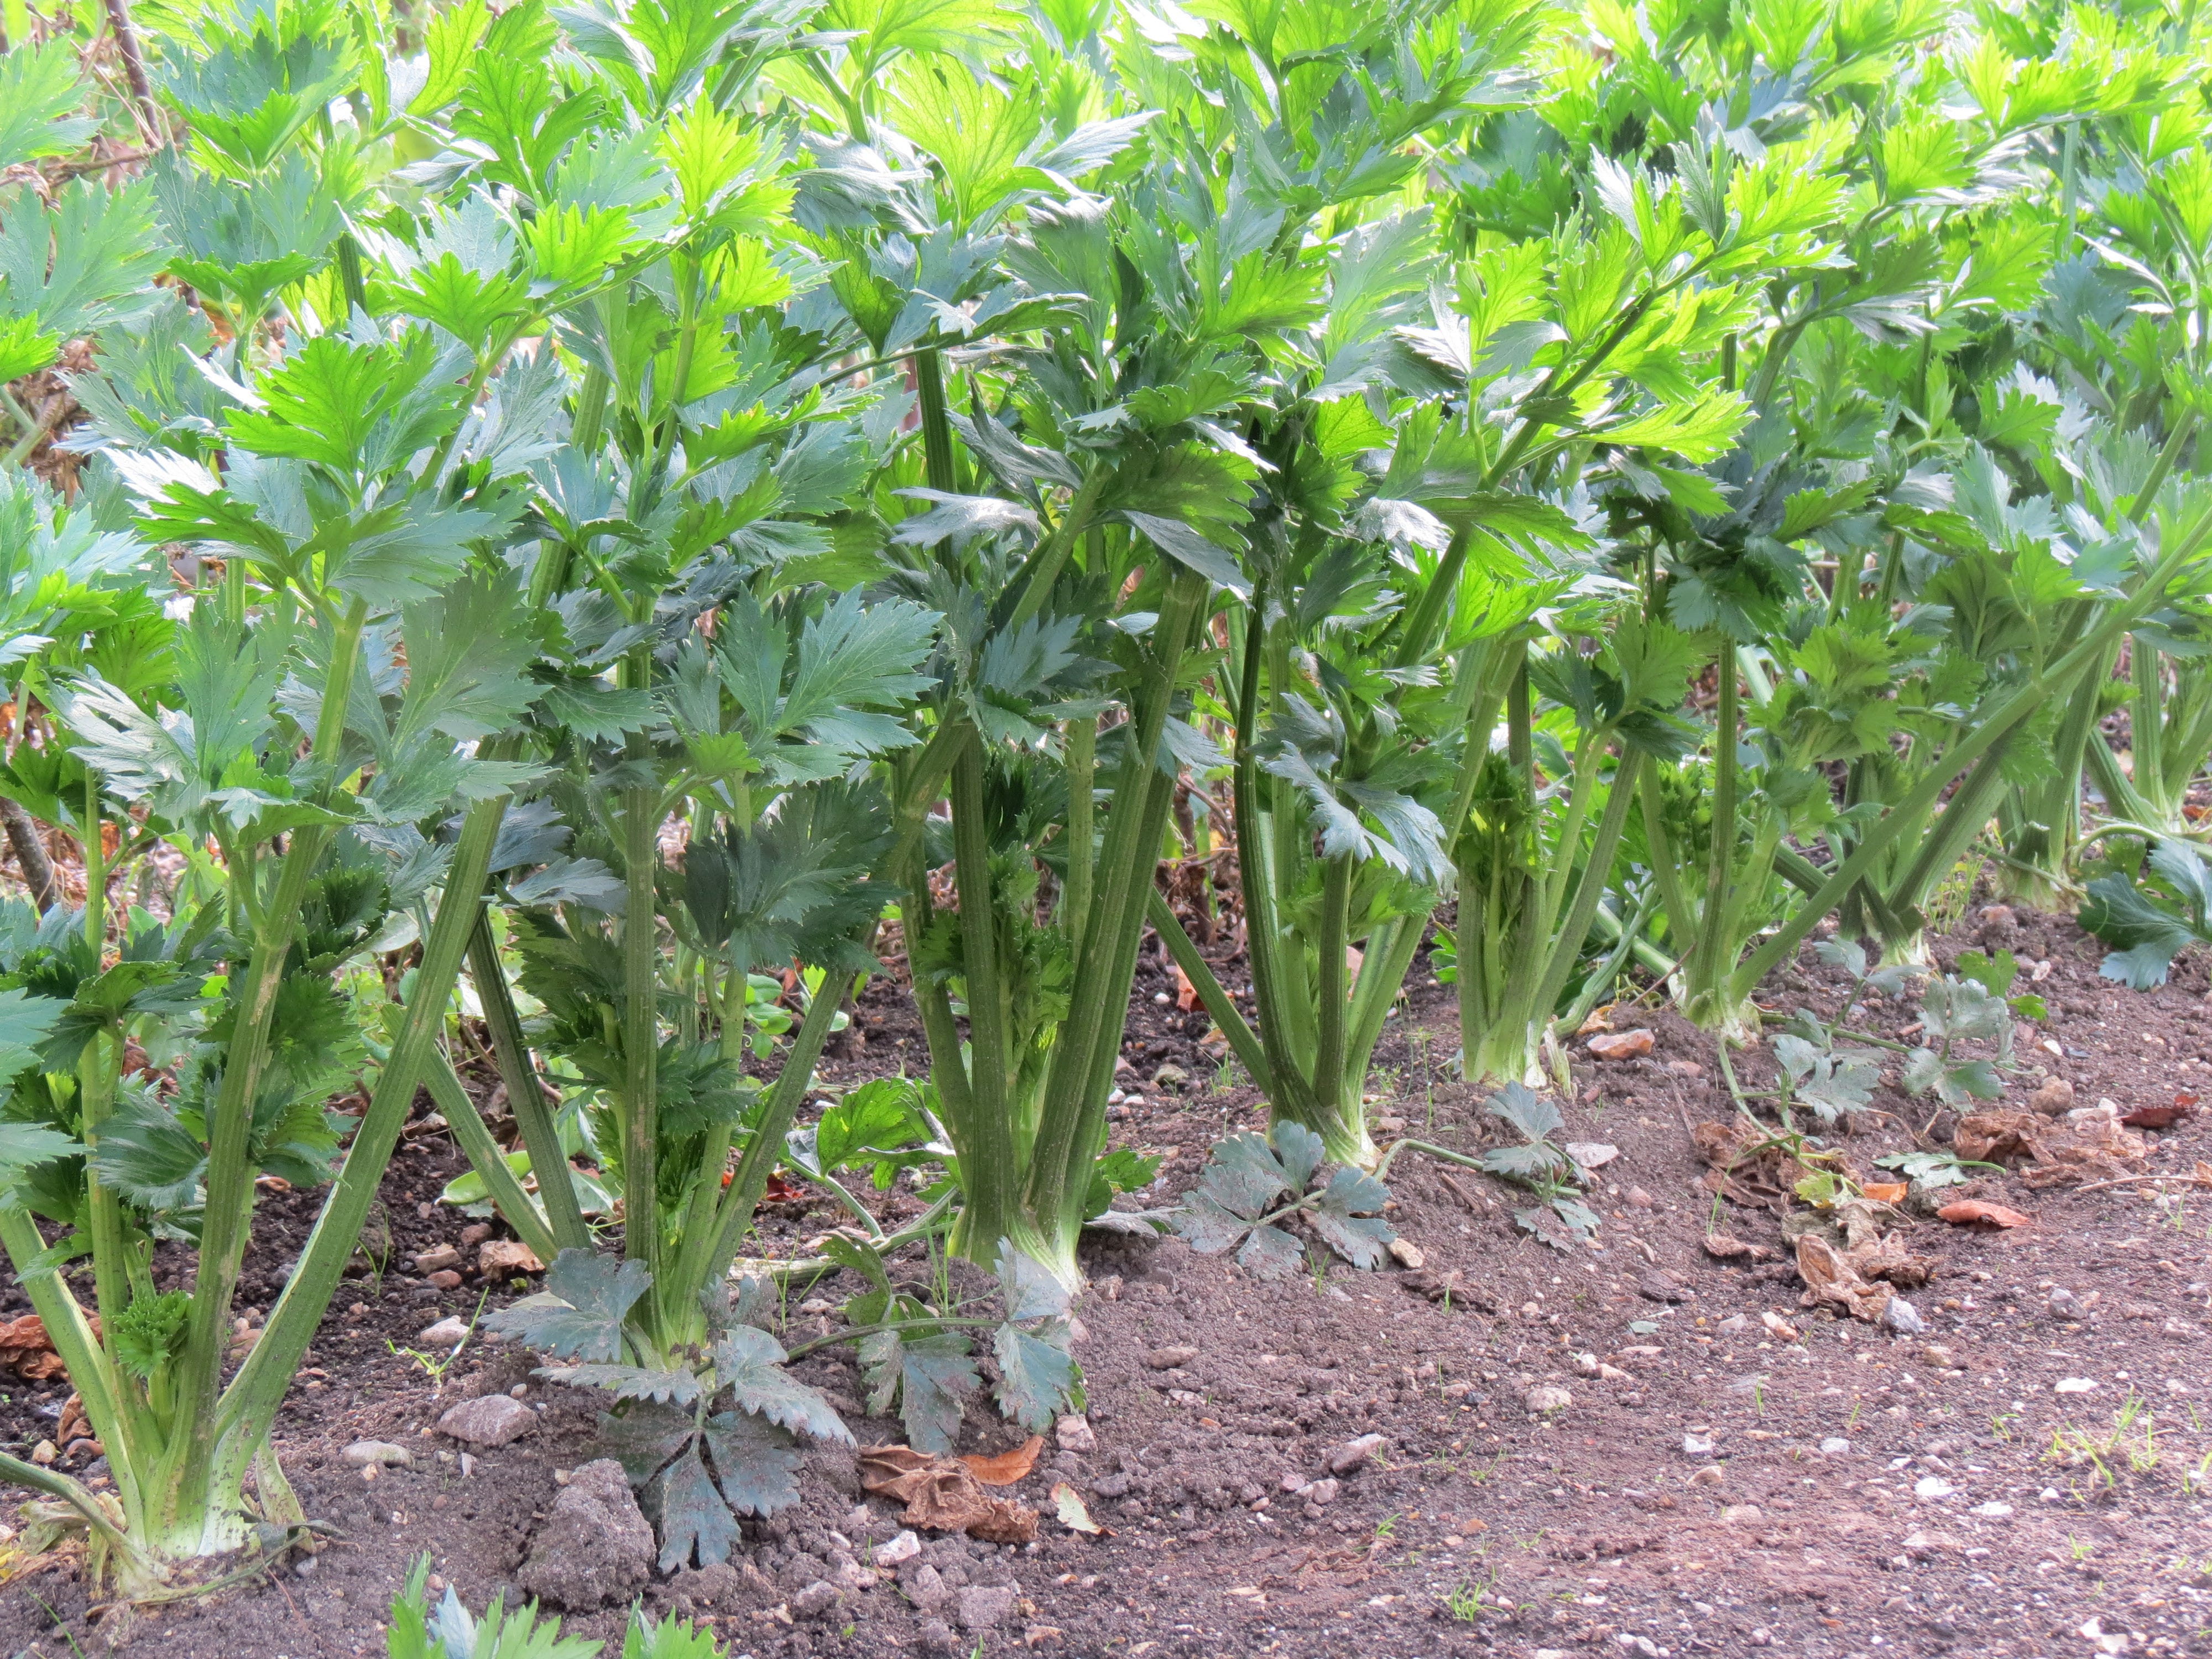
Your other option is to work with what you’ve got: water-loving crops include celery, celeriac, most of the leafy veg and ‘bog’ berries like blueberries and cranberries (acidic soil only). And if you’d like a pond – this is where to put it.
Other things to think about
A few essentials to get sorted before you so much as stick a spade in the ground:
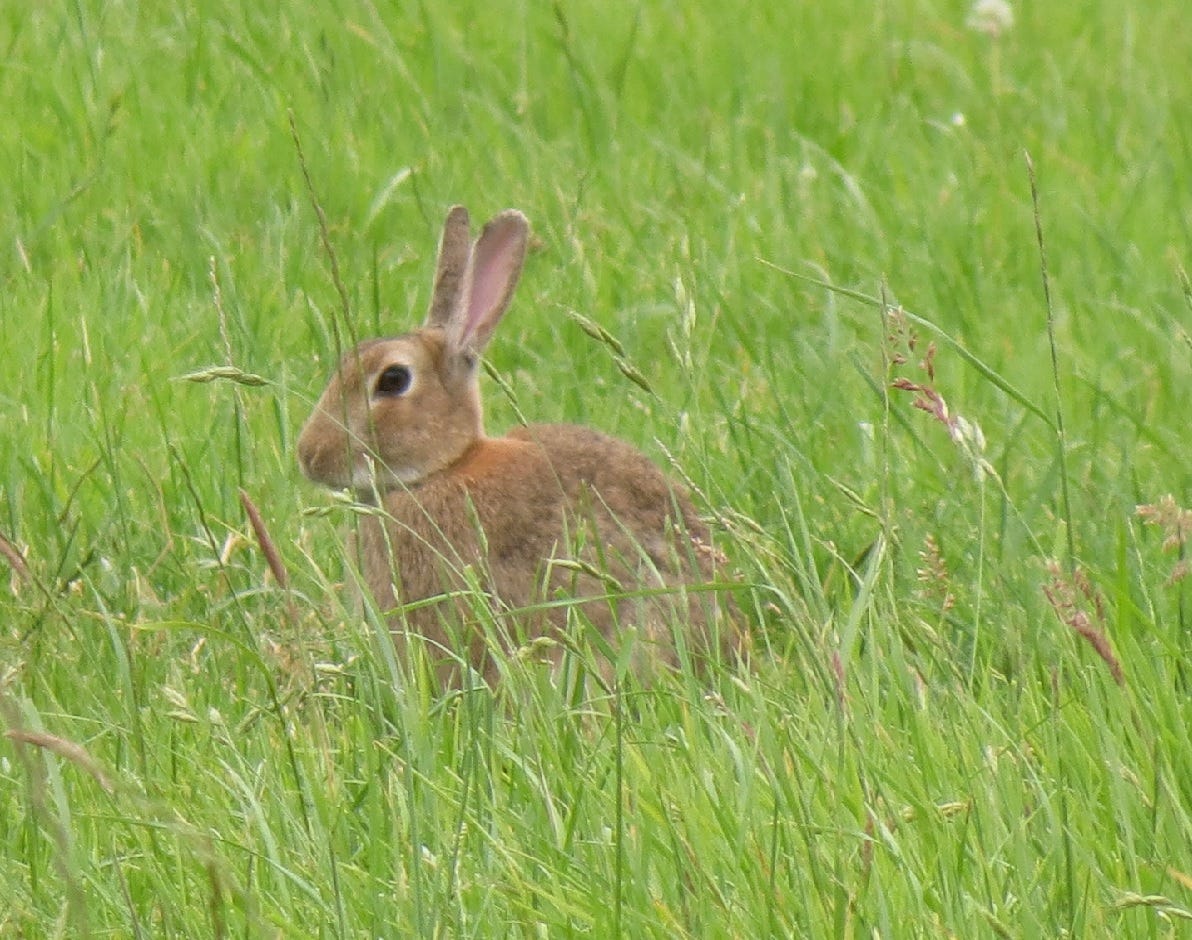
Boundaries: shelter (see above) is essential if your veg plot is exposed; and rabbit-proof fencing saves a lot of heartache. Whack in fence posts at 1m intervals around the entire plot, then staple on 25mm gauge chicken wire, 1m high with the bottom edge buried 30-50cm into the ground. Add a gate, and make sure you bury a plank edge-on under the gates, too, so the bunnies can’t burrow underneath.
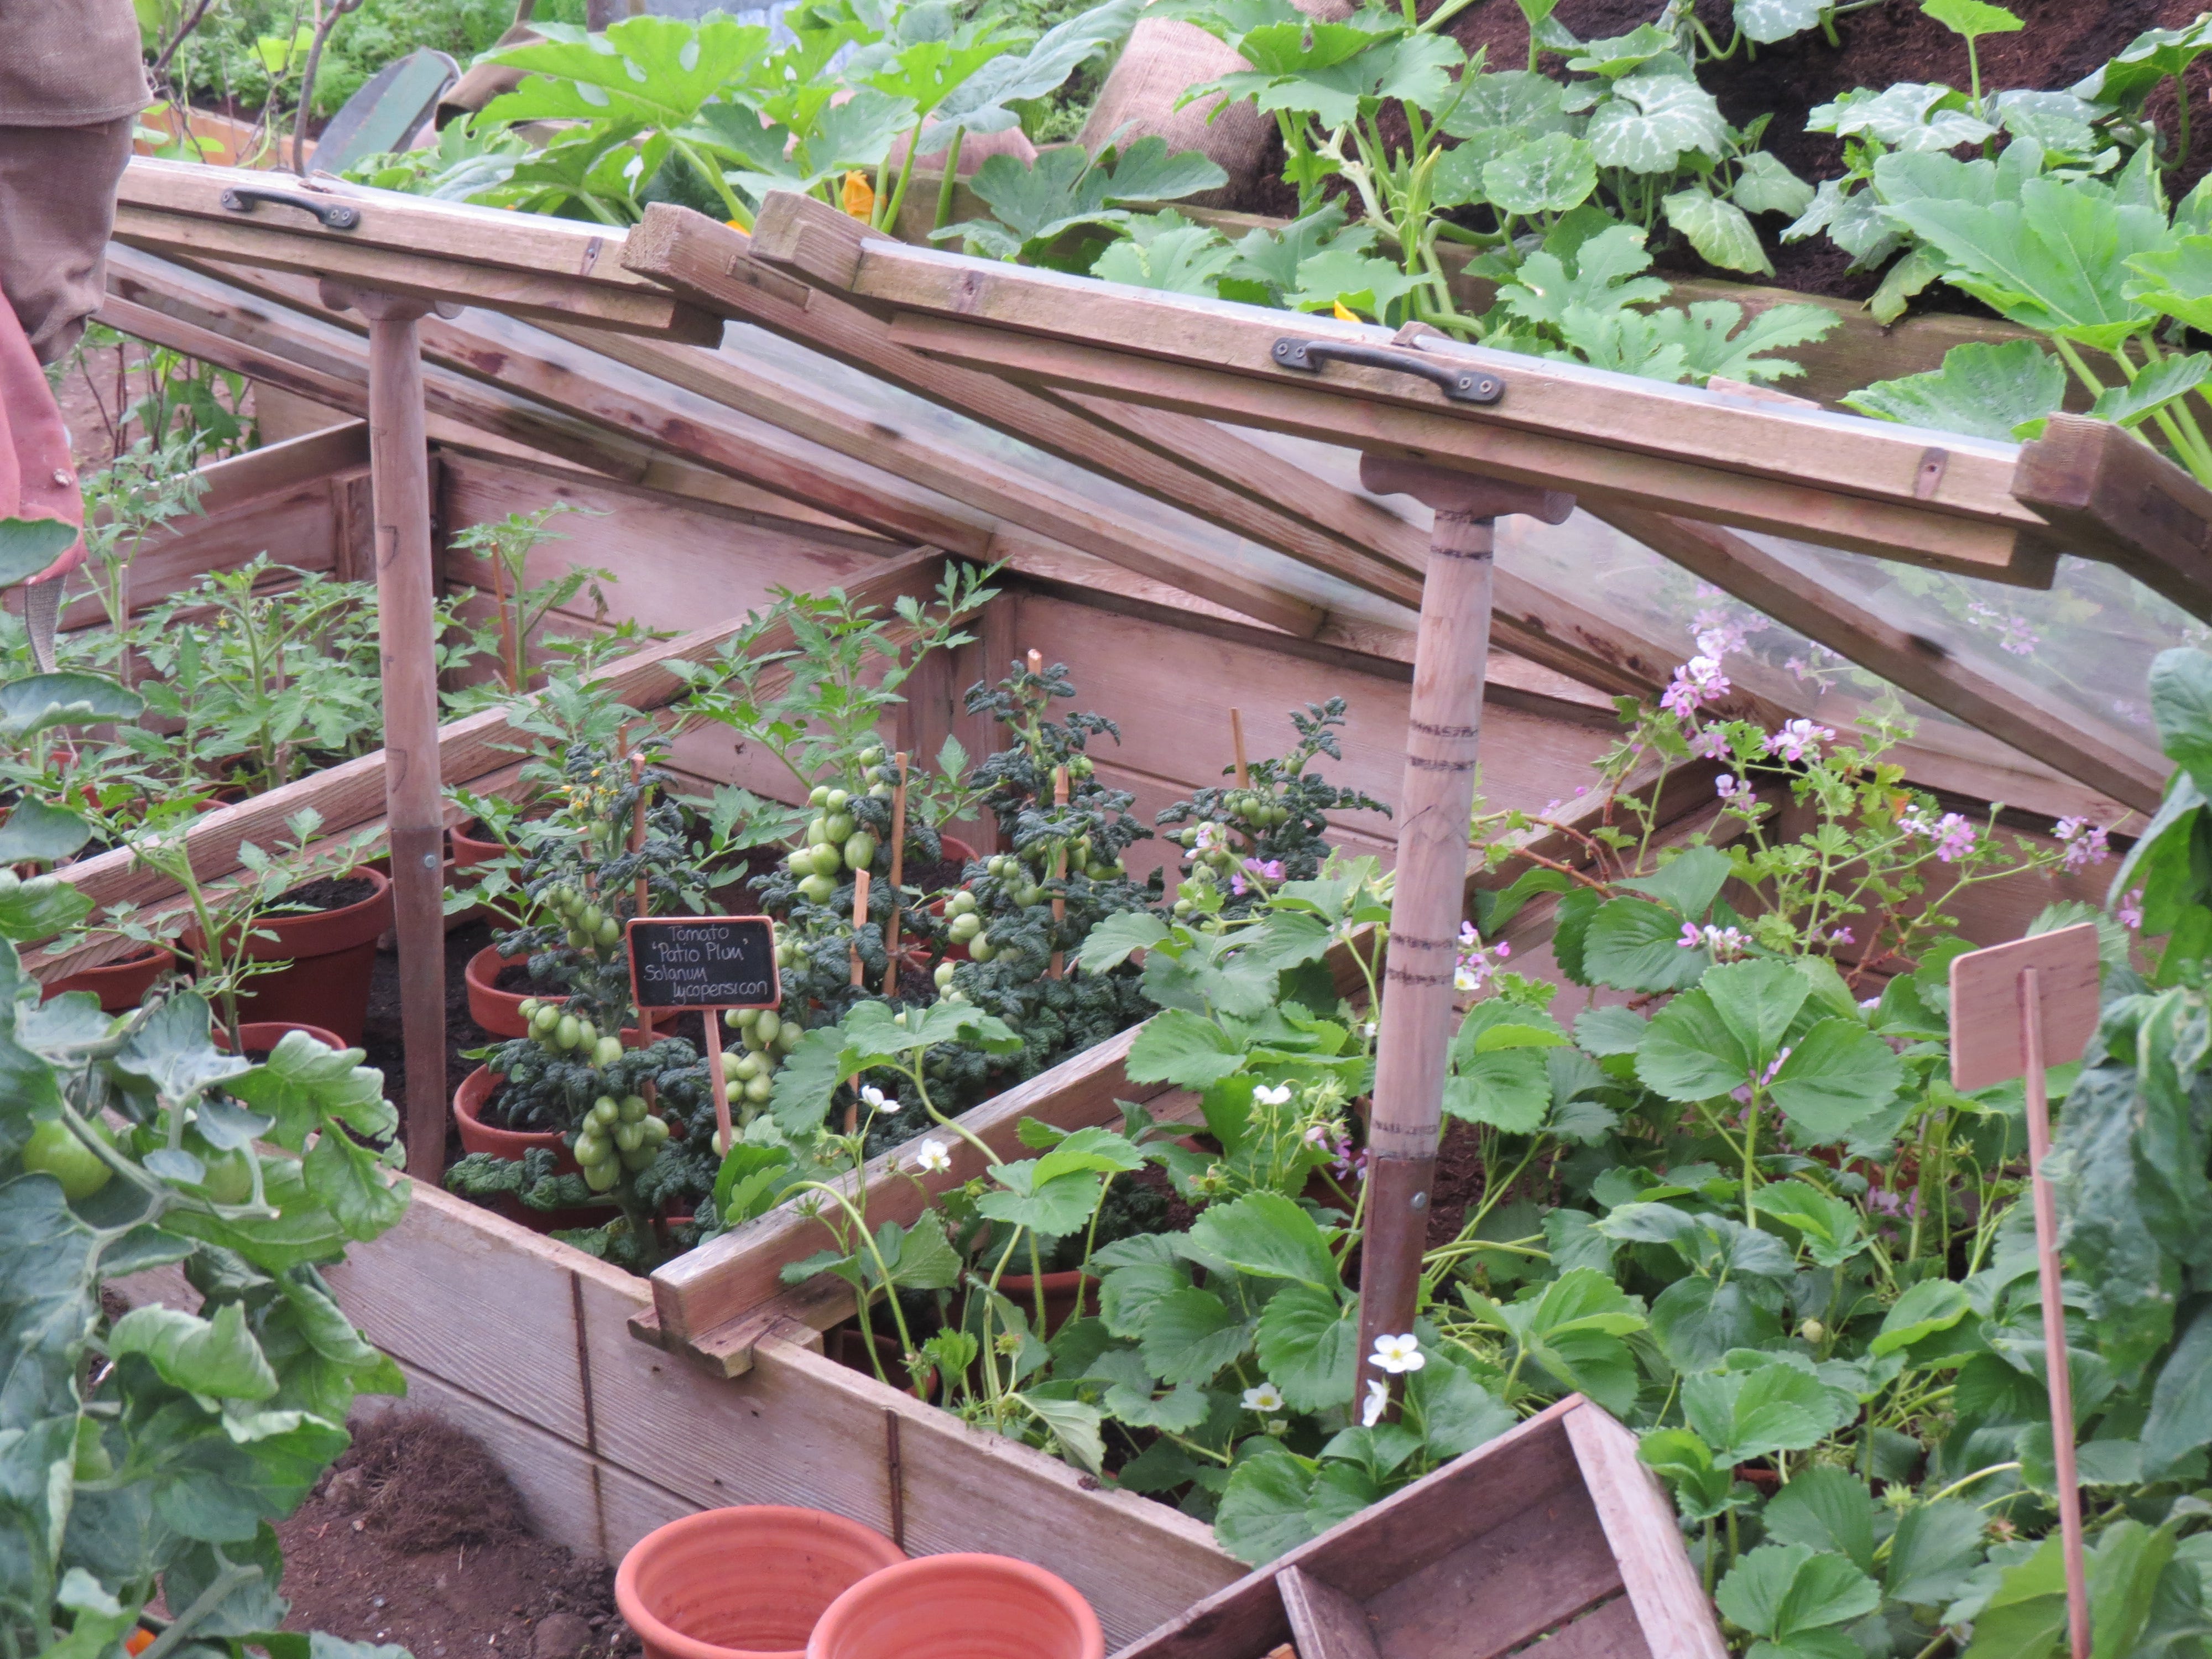
Buildings: A shed is a must; you could also consider installing a greenhouse and cold frames. Compost bins take up a bit of space, too. Site your vegetable growing area as close as possible to a dedicated working space and you’ll find life a lot more convenient.
Water: It’s not essential to have piped tap water, though it’s sometimes useful in times of serious drought. Much better is to install enough rainwater harvesting from the start. We’ll be talking more about how to do this later in the course – but for now, just think about where you can harvest rain from, and how you’ll provide for collecting and storing it in water butts and tanks.
Electricity: A bit of juice is really handy to have: it allows you to run electric power tools such as lawnmowers or hedgetrimmers, equipment such as propagators, and water butt pumps. If you don’t want to – or can’t – get an electrician in to install an outdoor power source, though, consider setting up a solar powered system.
Solar powered lights for the shed or greenhouse are easy to find; you can also buy irrigation kits for solar-powered pumps. Or you can go belt and braces and build a similar setup to that you would use for a caravan, with a leisure battery and a couple of solar panels. This will cover most garden purposes – including boiling a kettle for your teabreak, which I think we’d all include in our list of garden essentials!
Hi Sally, lots of interesting information here, thank you. I’ve been looking at ways to crest a boundary around my veg patch and would so love an edible hedge. Dreams! An unrelated question...Do you have ideas of what to use as markers for crops? I’ve got some small ash tree branches which I could use but wondering if there’s anything else
Hi Sally, if I use loo rolls to sow seeds that have long root systems like sweet peas, how do you stop the rolls from going mouldy or soggy?