


New Veg Plot Starter Course Part 2
Getting things shipshape

It can be a bit of a shock, and not a little dispiriting, when you tackle a new veg plot for the first time.
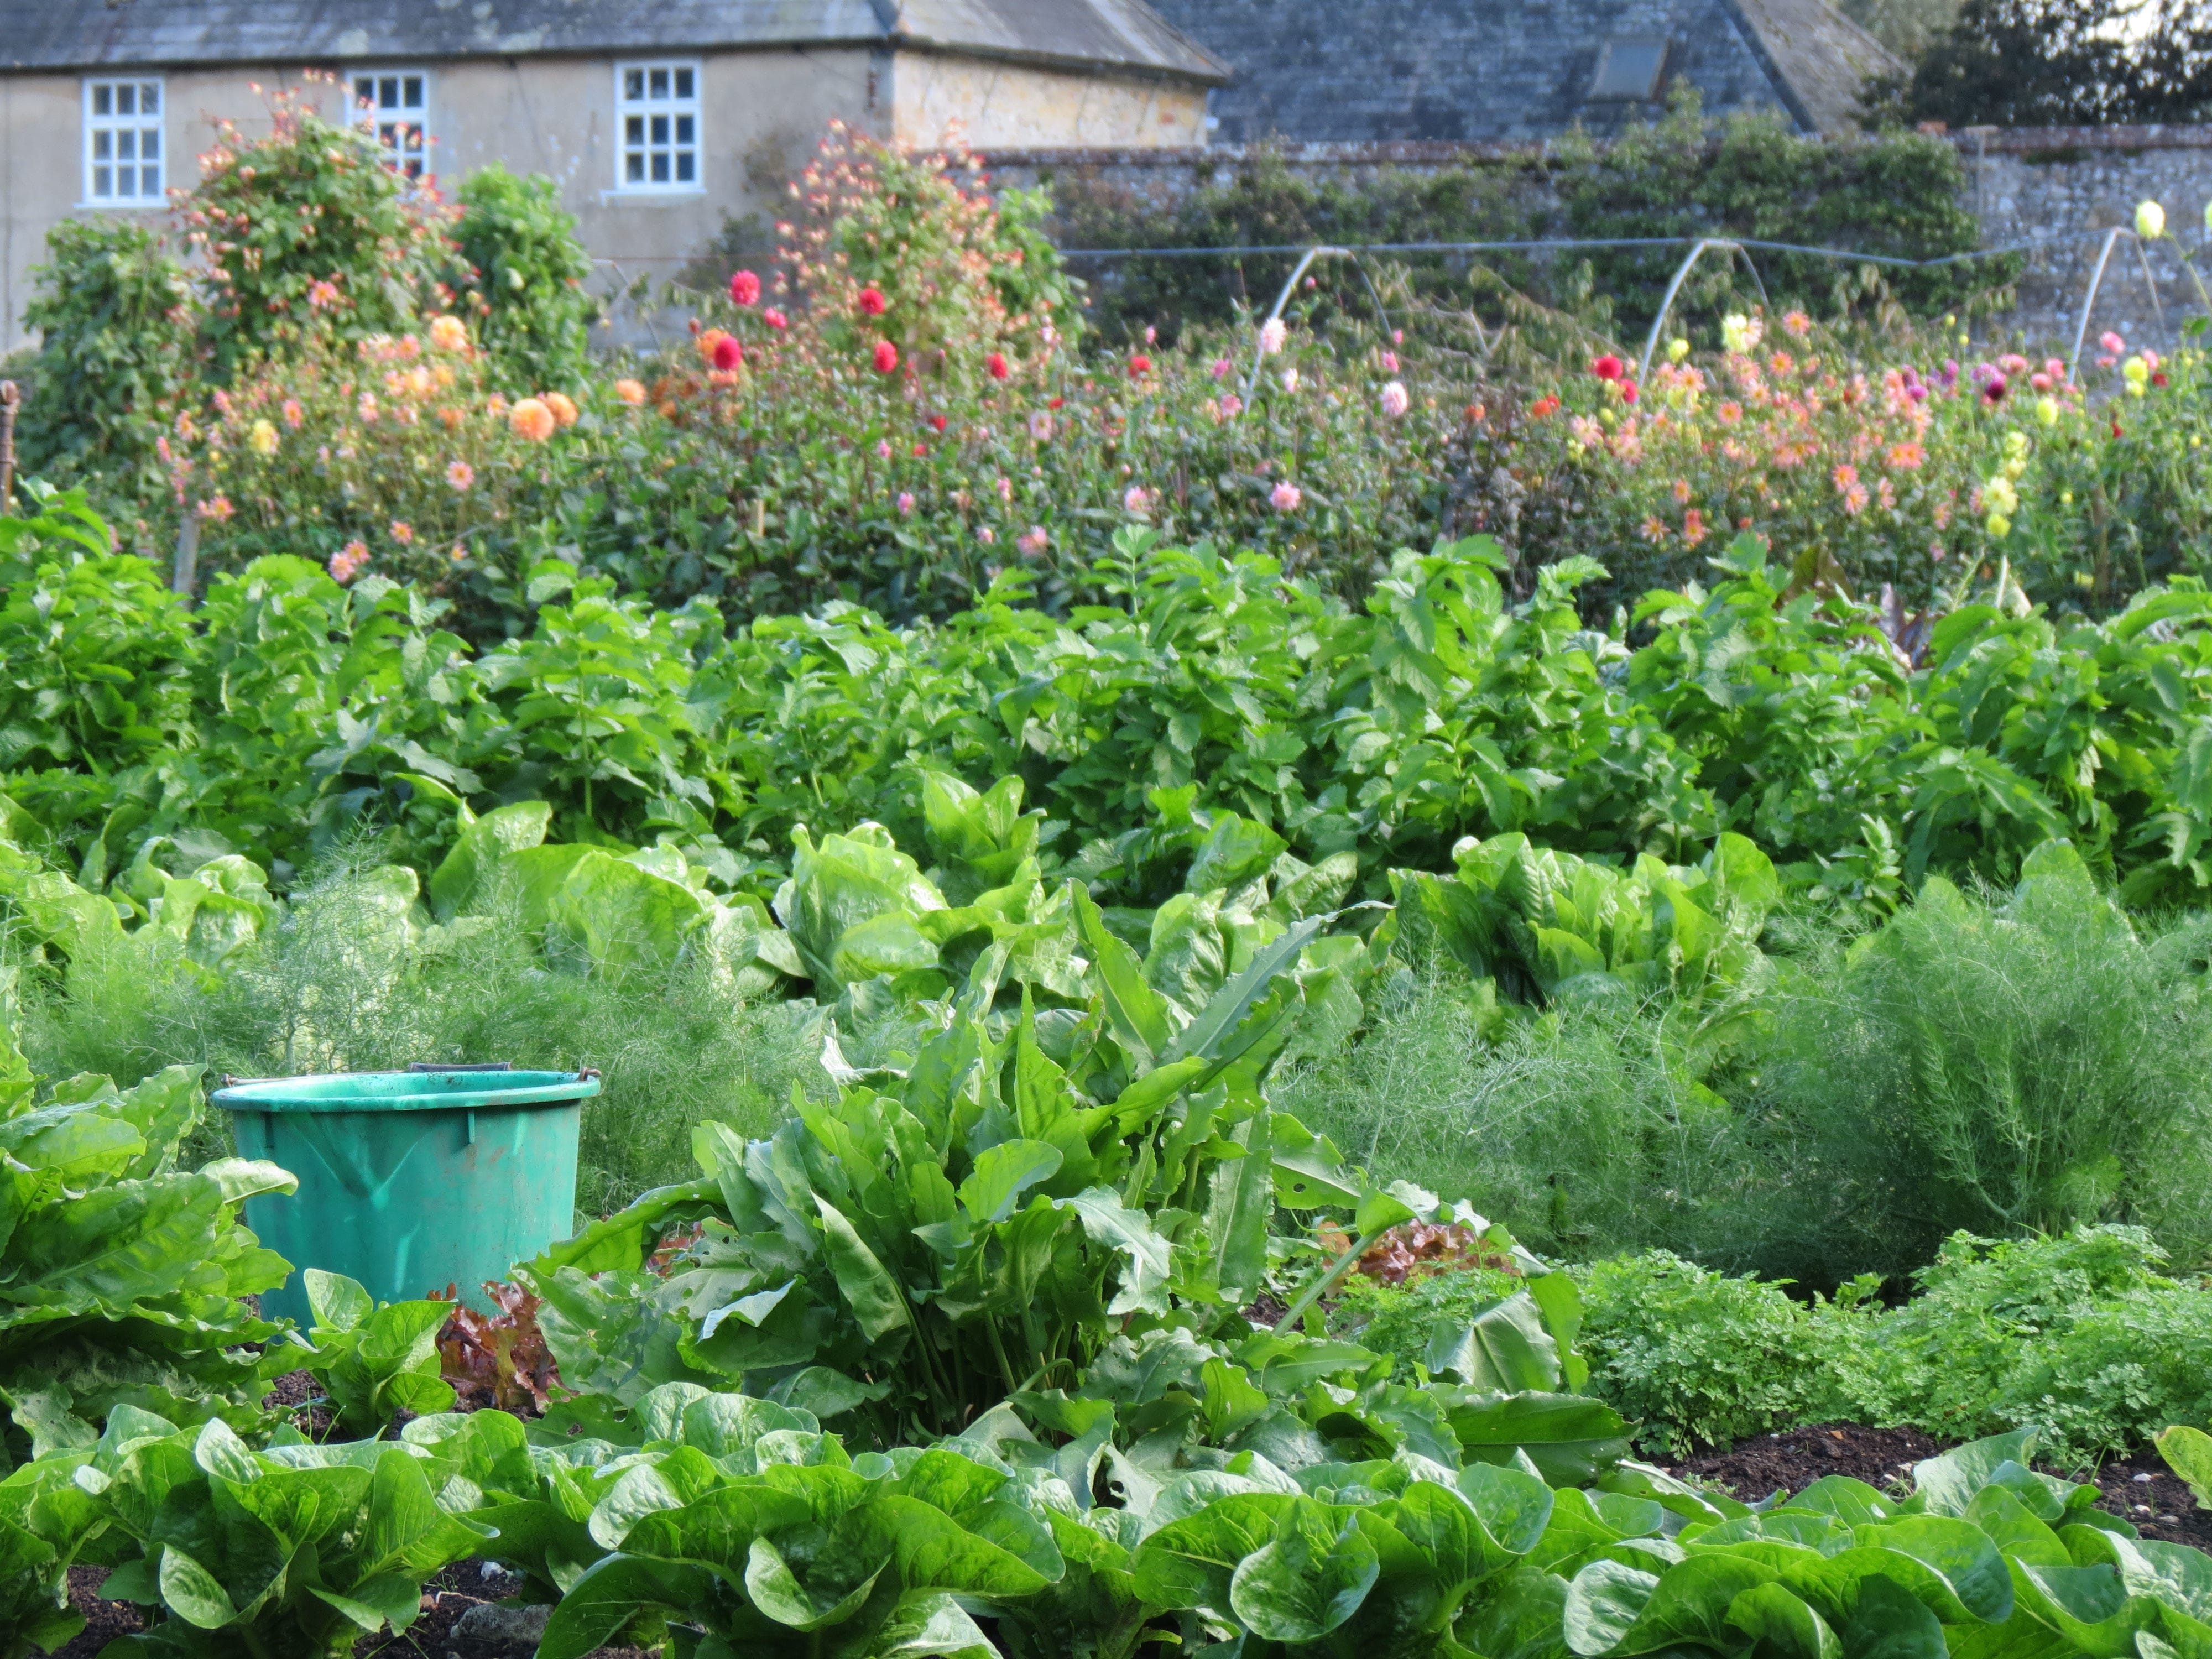
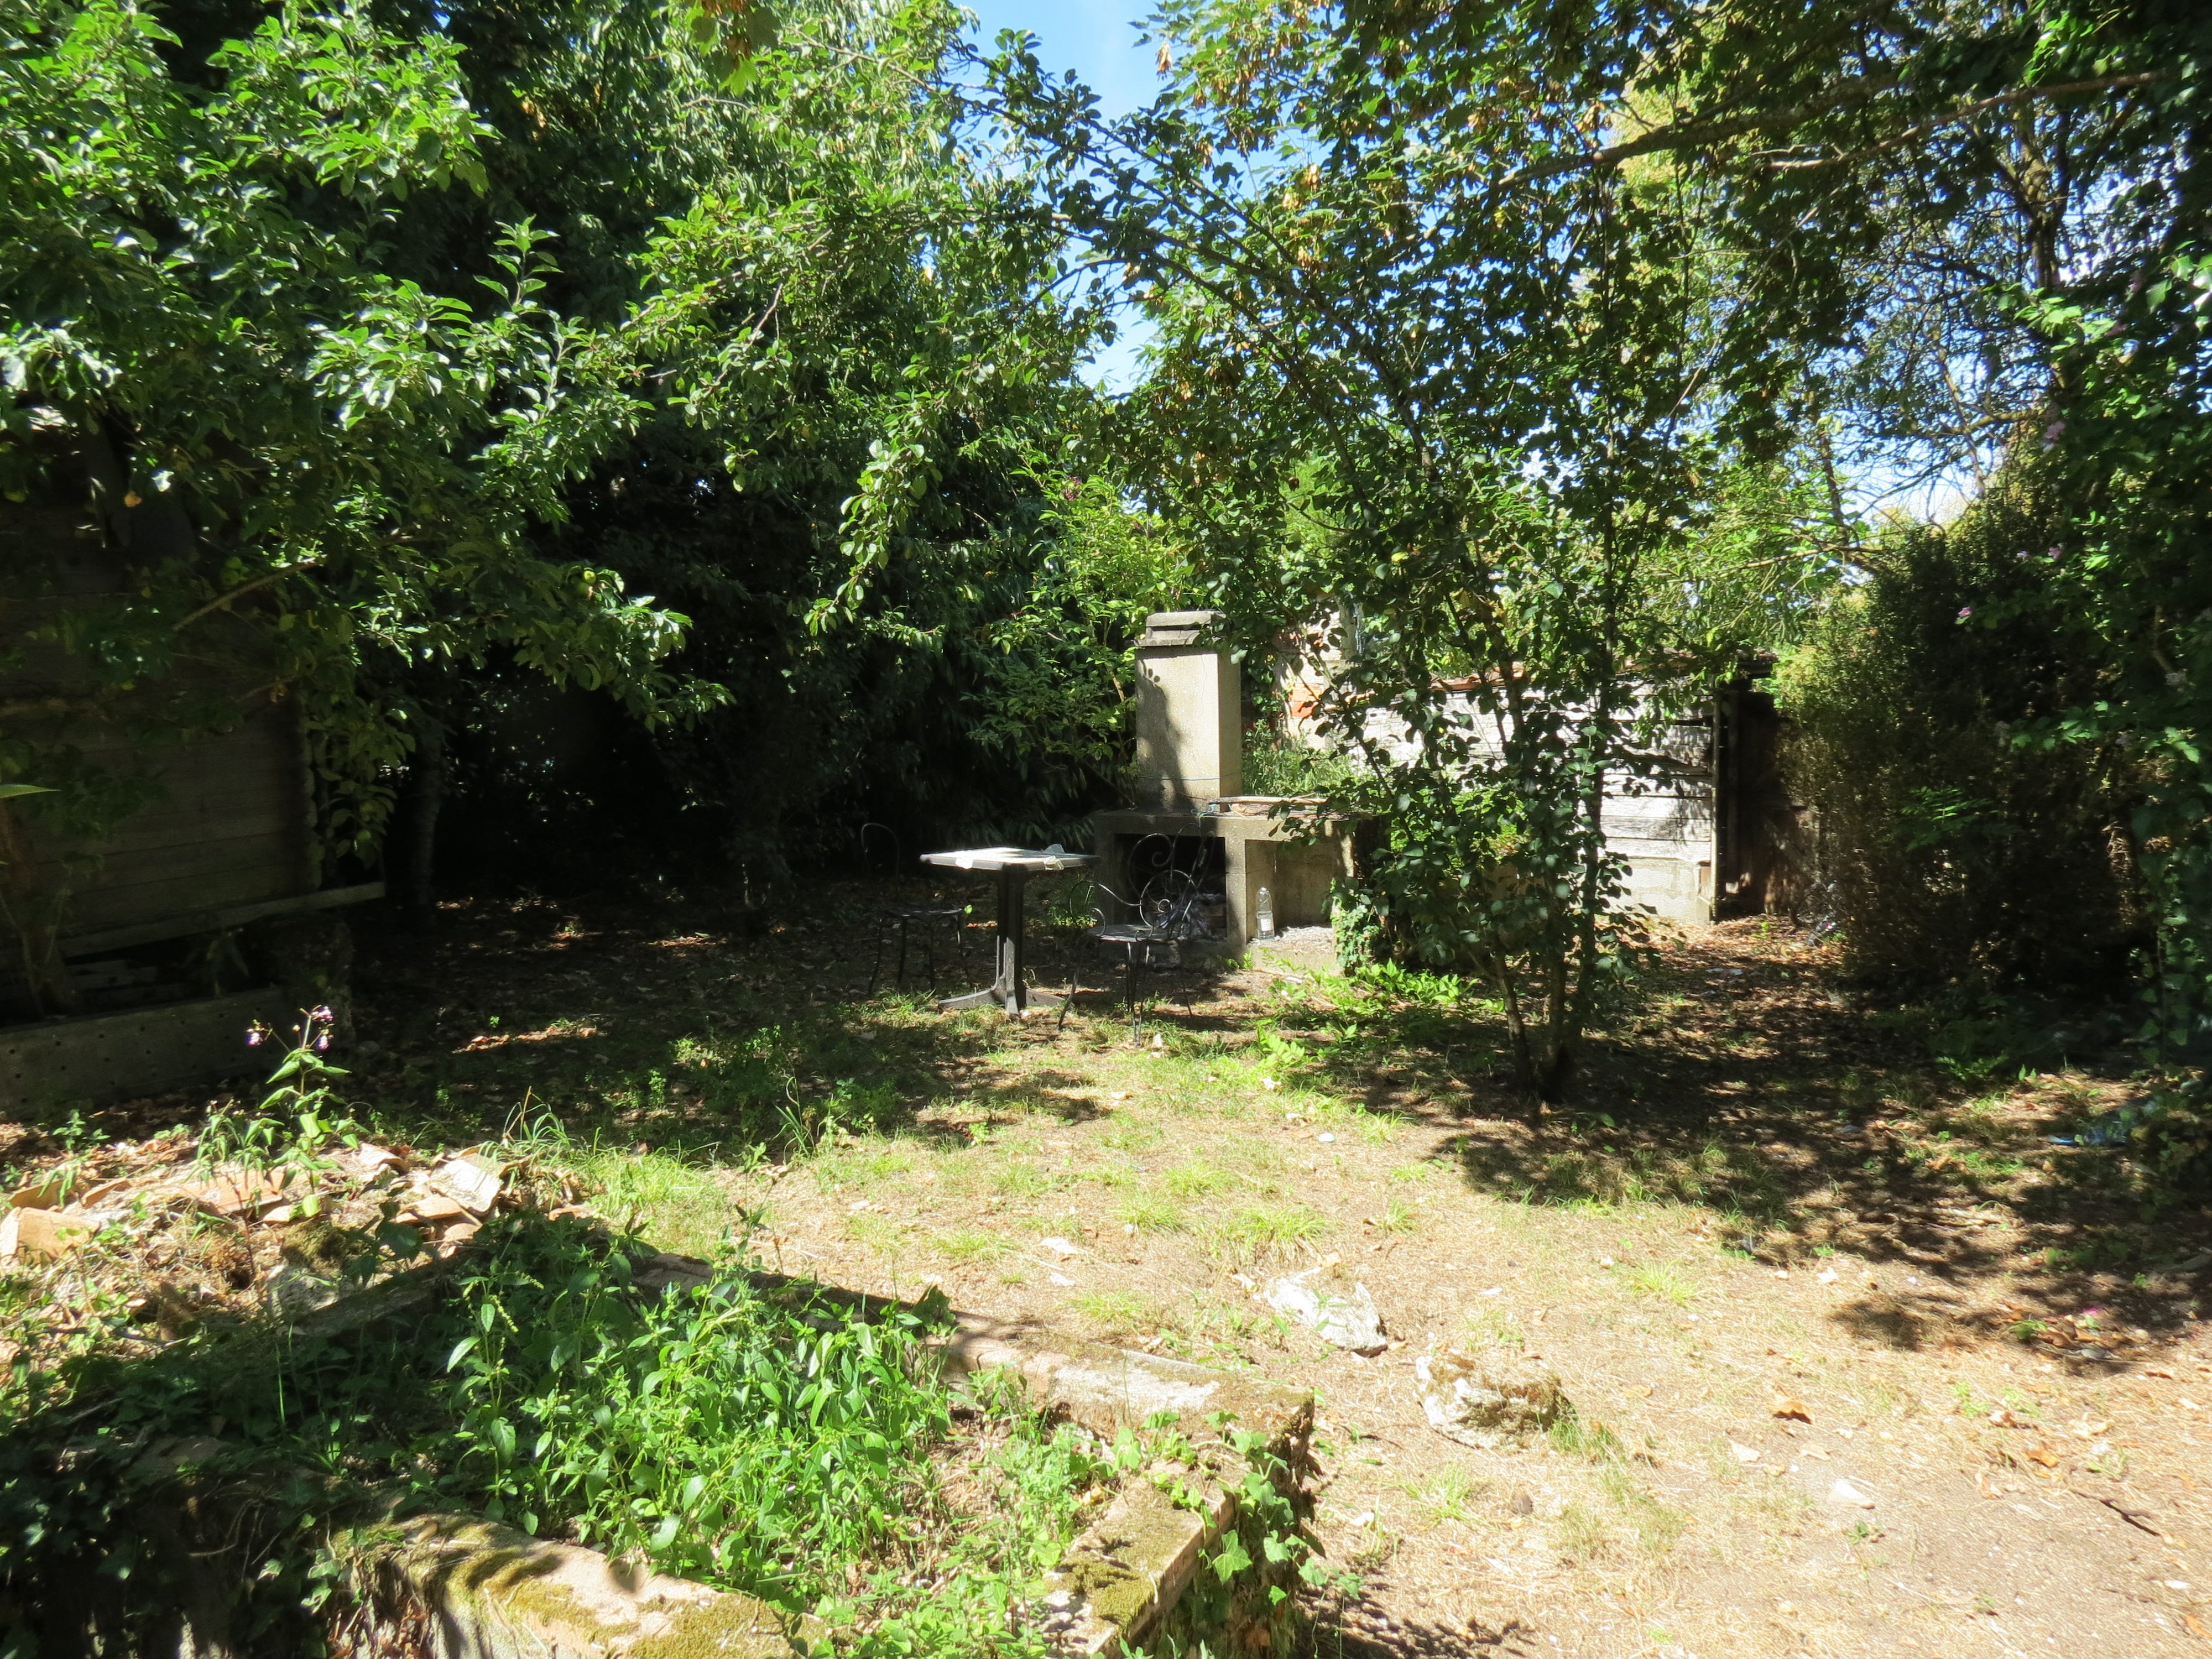
In your head is a gorgeous expanse of burgeoning, productive veg and fruit. The reality is more likely a stretch of threadbare, tufty turf, or a neglected border filled with overgrown gnarly old shrubs, or – most likely if you’re taking on an allotment - an impenetrable jungle of brambles and couch grass, sometimes dotted with tangles of plant netting, broken paving and rotten wood.
Most patches of land which end up as veg plots don’t make the transition smoothly. There's often a lengthy spell while you become increasingly annoyed by this bit of garden that isn’t working while scratching your head over what to do with it. In the case of allotments, the previous owner has sometimes taken a while to accept defeat. And if it's some time since your new plot was cared for properly, that takes its toll.
The temptation is to dive in, rotavators at the ready, determined to bash it all into shape in a weekend. Come Monday you're groaning in agony and vowing never to go near the place again.
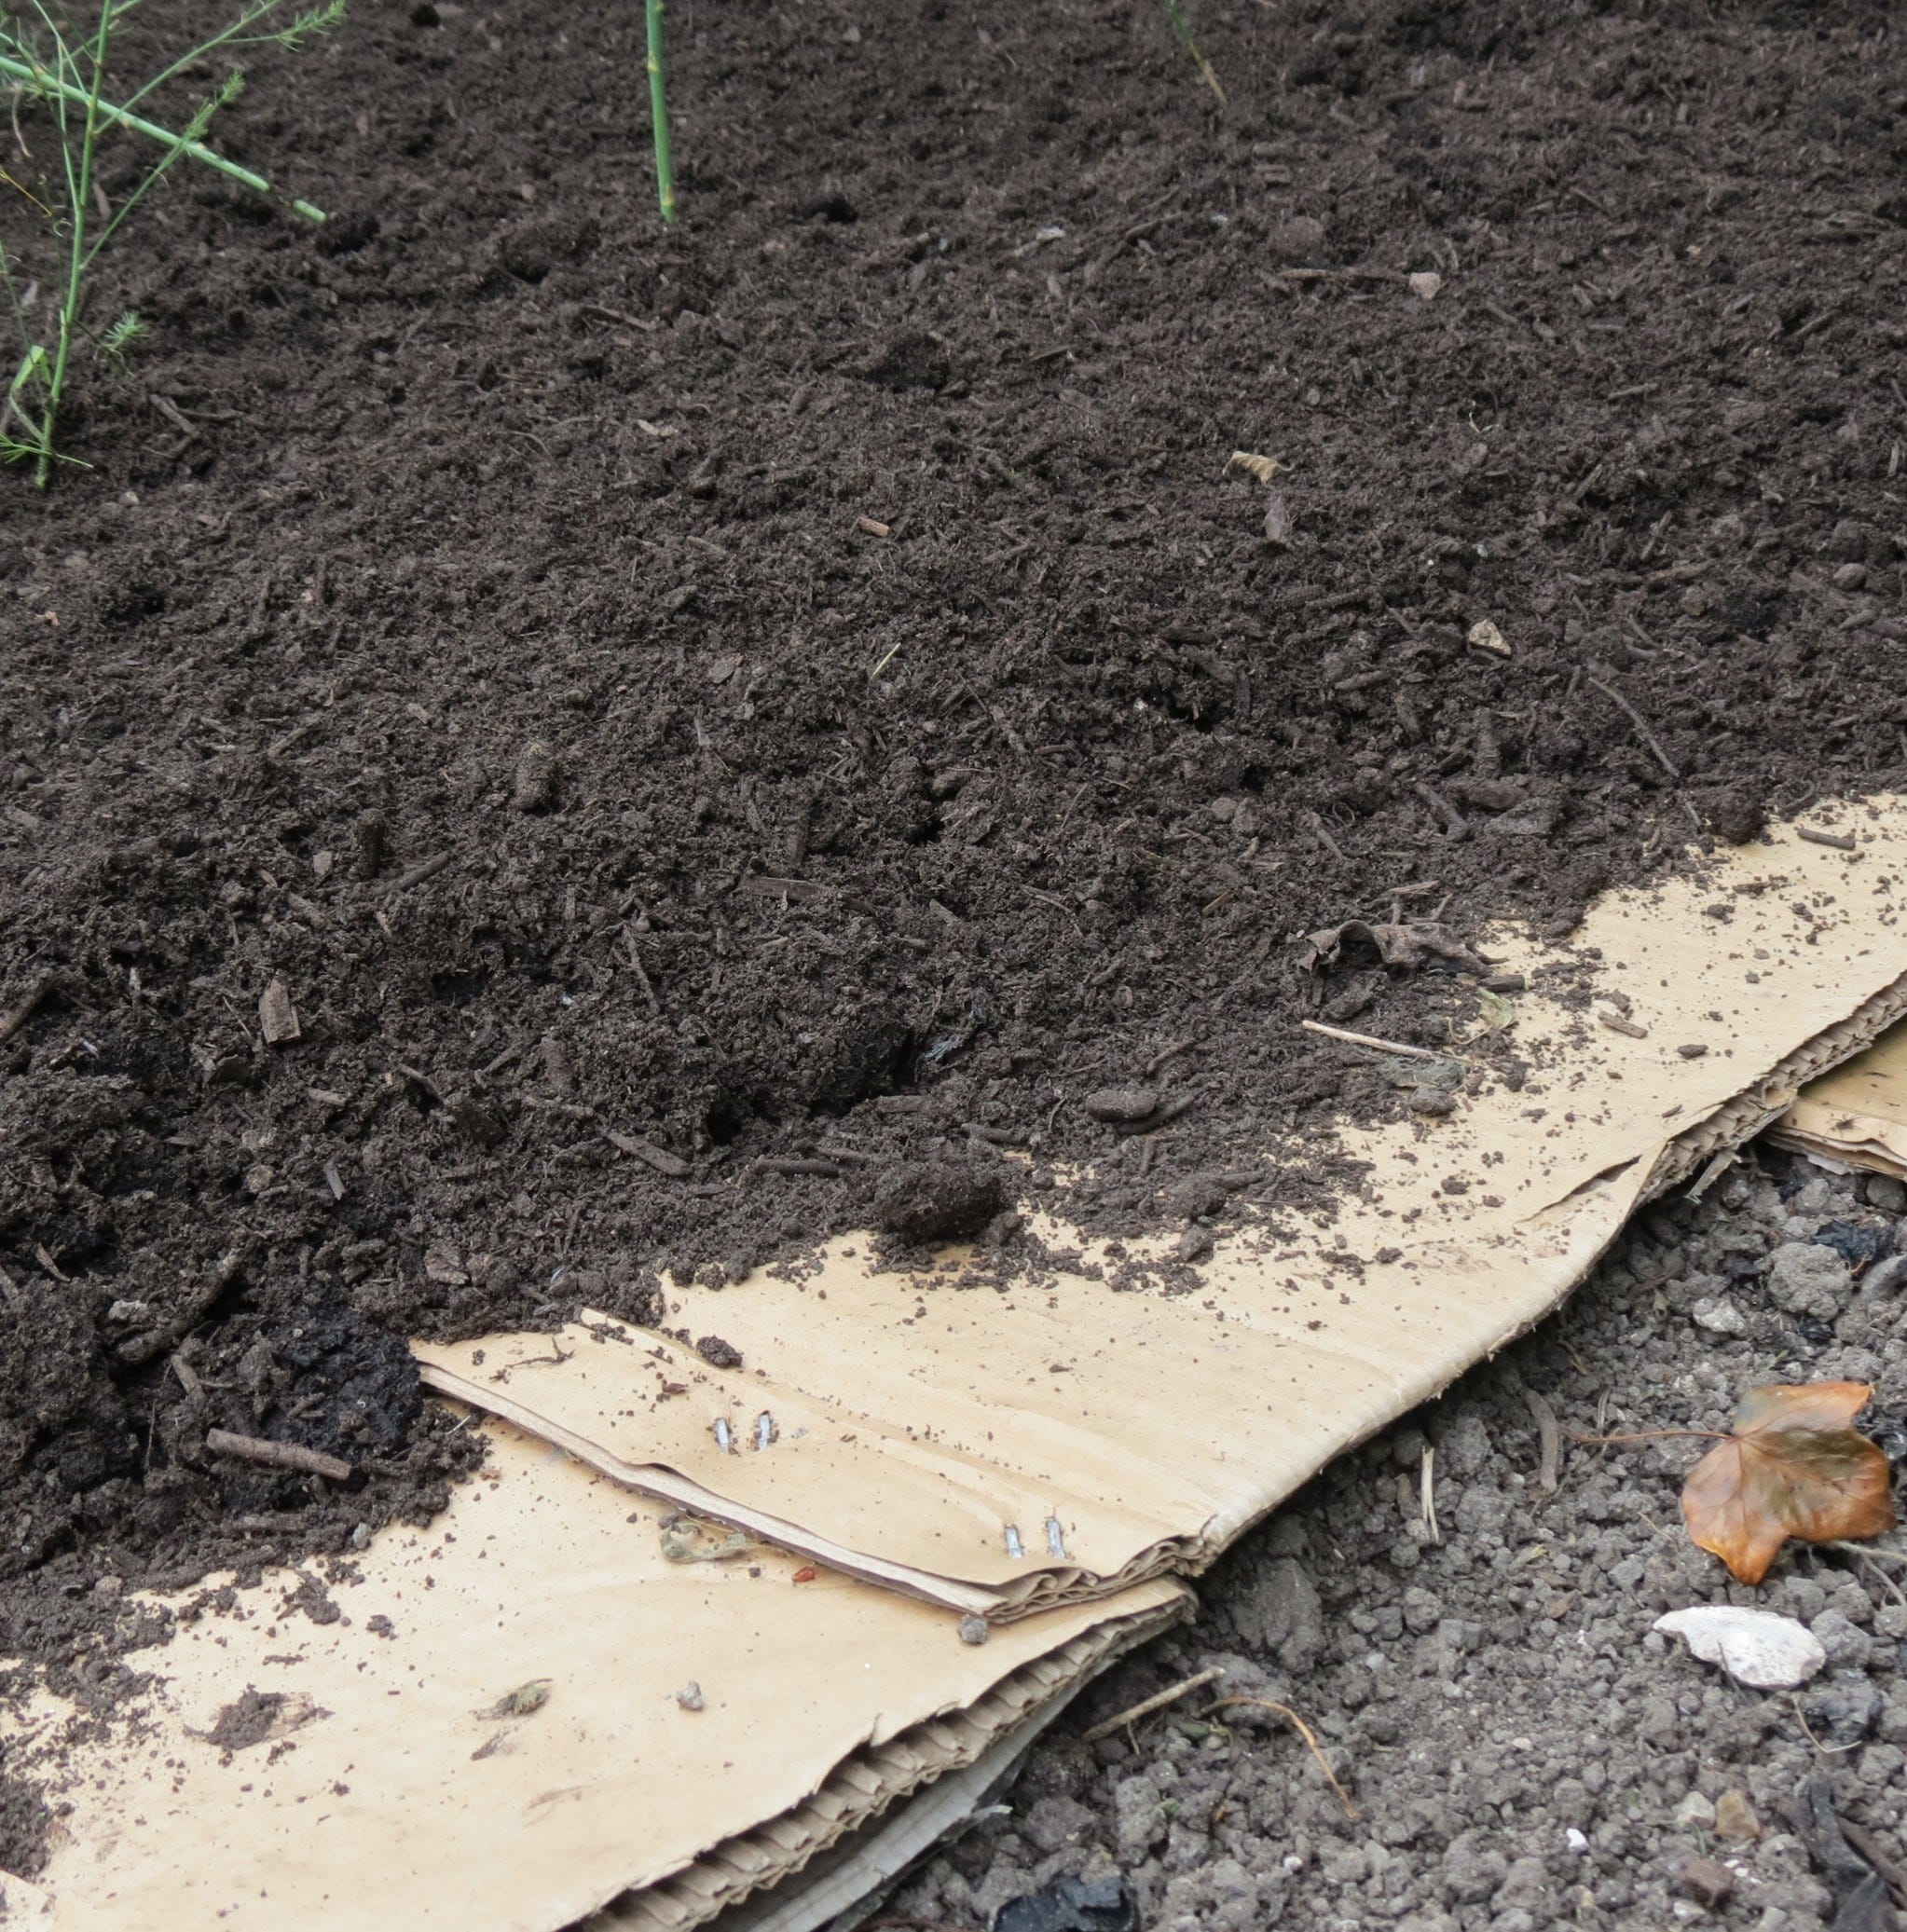
Instead, tackle your plot one manageable bit at a time. As long as you keep the rest tidy, covering fallow patches with layers of cardboard to control weeds, you can take years over getting the whole thing up and running if you need to.
1: Clear the site
One veg garden I developed was previously owned by a builder: he specialised in removing kitchens, which he then brought back and heaped into bonfires. The result was an overgrown mess of half-incinerated chipboard, blackened hinges and melted plastic. The first several months of work were mainly about heavy-duty gloves and rubbish sacks.
Shards of broken glass or sharp-edged metal can be downright dangerous, so rubbish removal needs getting out of the way for your own safety. Now is also the time to take down old or rotten sheds and remove wobbly fences.
Arm yourself with a thick pair of gloves, long sleeves and sturdy boots, and start with the largest things first. It helps if you can bribe some friends to lend a hand – the promise of beer and a barbecue works wonders.
Most rubbish can go to the local tip for recycling, but keep sound wood – always useful around the plot – and also paving and bricks for weighting down covers. Once you've got the last pile off the site, you'll already begin to see a huge improvement.
2: Tackle the undergrowth
Nature quickly colonises untended ground – and often it’s the real thugs which move in to fill the gaps. You can be more relaxed about annuals as they’re easy to remove with a hoe – but for the big boys you’ll need a strategy.
Monsters: Hopefully you won't find Japanese knotweed and giant hogweed on your plot, as they're serious problems. Knotweed is rampant and very persistent, while hogweed sap blisters skin.
Dealing with them: These are notifiable weeds – so get in touch with professionals if they’re anywhere near your house. There is just one way I know of which will rid you of big beasts like these without resorting to weedkillers: and that’s livestock. Corral some pigs into the area and they’ll root out knotweed by the roots; and sheep adore hogweed. Not, sadly, a solution for any but the most rural of gardens.
Prickly customers: Brambles leapfrog around to form thorny thickets, while nettles are more easily dug out, though leave some to grow for butterflies and home-grown plant food.
Dealing with them: Don gauntlets and cut away the top growth to about 15-30cm (6”-1ft) above ground. Shred the waste and put it on the compost heap or just pile it onto your dead hedge. Then get hold of a mattock and use the blade with a chopping action to slice out the roots under the ‘knuckle’ – the thick gnarly knot where the stems emerge from, just below ground level. This is much less strenuous than it sounds, takes just a few second per plant, and is a very satisfying job.
Persistent offenders: The roots of couch grass, docks, bindweed or marestail delve down several metres and regenerate from the tiniest shred, making them very hard to eradicate.
Dealing with them: Remove all the top growth to ground level (no need to dig out the roots) then cover the area with thick cardboard. Mulch thickly on top, and sow and plant into that all season; this gives you a year’s weed-free growing before they break through again. Once you clear the bed, simply repeat the process; after a few years of this you’ll find they weaken and eventually die out.
3: Dealing with turf
Sometimes your new plot is on virgin land and you're looking at a chunk of field that's never seen a spade in its life.
In some ways it's easier to carve out veg beds from turf; but the land is likely to be nutrient-depleted and may have built up high populations of pests such as eelworms.
Slice vertically through the grass around the bed with a sharp spade, then divide the area into strips about 30cm wide. Chop these into shorter rectangles to make turves.
Cut these out horizontally with the spade, severing the grass roots just below the surface and use them to make a turf stack. Pile them up upside-down, staggering rows like brickwork for stability, then water and cover with cardboard and leave to rot. In a year or so you’ll have rich crumbly loam that’s ideal for sieving into home-made potting compost.

4: Fences and boundaries
Now you've got rid of unwanted rubbish and cleared the weeds, your veg plot is starting to look less like a junk yard and more like something that might feasibly become a garden.
Before you start cultivating in earnest, though, turn your attention to your boundaries.
A rabbit-proof wire fence around the whole area keeps the little nibblers permanently off your crops. Make it 45cm (18”) high with another 20-30cm (8”-1ft) buried to prevent them burrowing underneath: and if deer are a problem too, double the height and add a two single strands of wire 15cm (6”) apart above the top.
A hedge is useful if you're in an exposed site and need shelter; a mixed native hedge also attracts lots of wildlife, and will filter the wind to a gentle breeze (solid boundaries tend to create eddies of turbulence on the lee side). Plant this before anything else, as they take a few years to establish properly.
5: Get to know your soil
Now you've got your plot under control, your hedge is coming on nicely and you've banished the bunnies, it's almost time to fetch the seed packets.
At this point, though, take a little time to find out the strengths and weaknesses of your soil, as it's the foundation on which your veg-growing is built and governs everything from your plants' health to whether you can get on the allotment in winter.
If you can mould a handful of soil like plasticine, it's clay - the most common type, and very fertile, but heavy, slow to drain and difficult to work in winter. Barrowloads of compost and both brown and green manures make clay soils easier to manage.
If it falls apart, it's free-draining sand or chalk: sand tends to be yellowish, while chalk is grey, often with white lumps. Both are prone to drying out and are hungry, requiring regular applications of nutritious compost. But light soils are a joy to work year-round, and you'll grow fantastic peas and carrots.
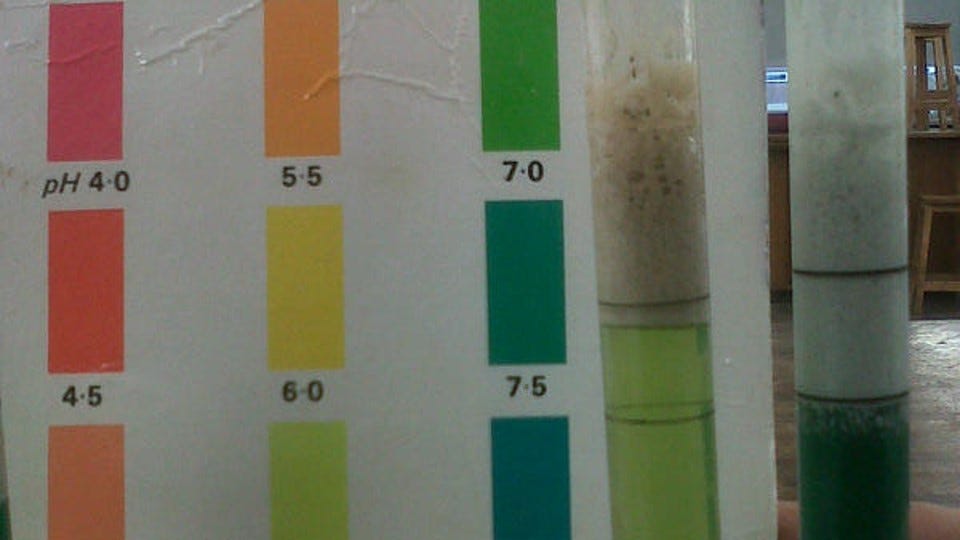
For more detailed analysis, a simple soil testing kit tells you if your soil is acid or alkaline. The RHS also has a soil analysis service for members which gives you chapter and verse, right down to micronutrients.
6: Get in some goodness
Nearly ready now: your first patch is clear, pristine soil, beautifully fenced and just waiting to grow something. But before you plant, there's one last thing to do to help roll back all those months of neglect.
While your plot wasn't cultivated, soil nutrients were already falling steadily, and now you'll have removed some of the remaining goodness yourself along with the undergrowth or turf. You'll return it eventually through composting, but in the meantime it needs replacing for your crops to thrive.
Save manure for heavy feeding crops such as potatoes, courgettes and runner beans. Medium-strength soil improver - well-rotted manure or composted green waste – is good for peas, beetroot and salads. And brassicas, carrots and parsnips, all sensitive to over-rich soils, prefer ordinary garden compost or topsoil. This is the start of a long process of soil improvement, so don’t expect instant results: in fact for your first year or so on very depleted soils it’s also worth boosting soil fertility with slow-release organic fertilisers too, like seaweed granules. Eventually, once you have a good deep topsoil again, you shouldn’t need any extra feed for outdoor crops, as the soil will already contain all the nutrients they need.