


New Veg Plot Starter Course Part Three: The Masterplan

By now, you and your plot have moved well past the polite acquaintance stage and are definitely on first-name terms. Hopefully, if all is going well, you're even making friends.
Those long hours you've put in digging out weeds, clearing away rubbish and leaning on the fence to chat with the neighbours haven't just been about sorting out the veg garden. While you've been working, almost without knowing it, you'll have been absorbing all those quirky details about your little patch of land until it's as familiar to you as your own skin.
And chances are ideas have been popping into your head as you go. Maybe you've seen something you admire in your neighbour's garden and fancy growing it yourself, or you're dreaming up your perfect shed, or working out how to get yourself a greenhouse.
Feed your fantasies further with some inspirational reading: 'Our Plot' by Cleve West, or Joy Larkcom's 'Creative Vegetable Gardening' make great après-garden entertainment. Keep a notebook where you can scribble down thoughts and file magazine clippings of kitchen gardens you love or plants you want to grow.
As spring arrives at last, you'll have a head full of ideas and a heart full of excitement for the year ahead. Time to put those plans into action!
Making a plan
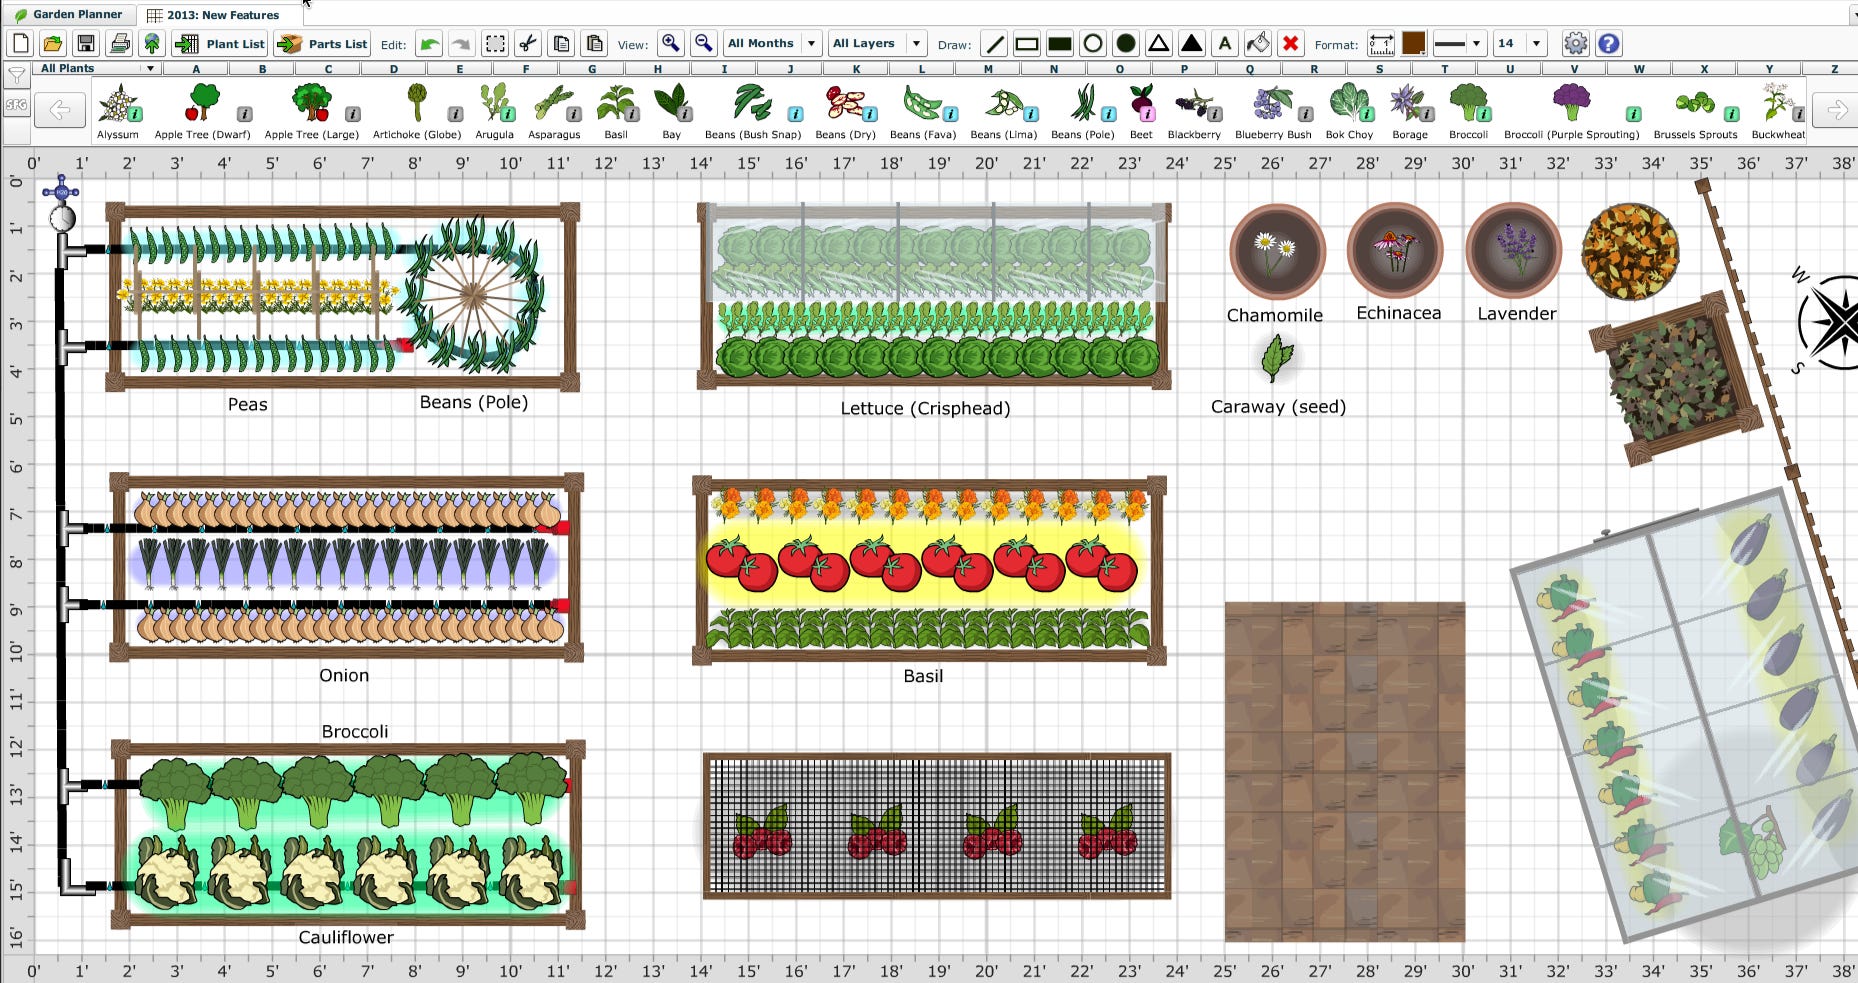
Drawing up a proper plan is well worth the effort: it’s your blueprint for everything that follows, so take your time. I use the online garden planner at Growveg.com (they give you a free trial if you’d like to try it out). But if you want something more analogue, just draw out your garden to scale on graph paper: you can then cut out little to-scale rectangles for sheds, greenhouses and the rest and simply move them about to see where they fit best.
Plotting your overall design on paper – virtual or physical - gives you a permanent record to refer back to, so you won't forget how you solved the knotty problem of how to fit both shed and compost bins into that awkward corner. It also helps if you're developing your plot bit by bit, as you can work gradually towards the end result.
Measure your plot's boundaries, then draw it onto your graph paper. A scale of 2cm (1”) to every metre (1:50) works well (a scale ruler helps sidestep the maths!)
What to include... and where
Finding your way around
It may sound like a dull place to start, but get your pathways right and everything else will follow. Making your way quickly and efficiently from A to B is the number one requirement for an easy life on the plot: when you’re pushing a loaded barrowful of manure, the last thing you want to do is negotiate paths which are too narrow or take you the long way round.
So the first thing to draw on your masterplan is at least one broad path, about 75cm (2ft 6”) across, the length of the allotment. Add more wide paths for much-used routes (shed to greenhouse to compost bins, for example); then as your plan develops, place smaller side paths 45-60cm (18”-2ft) wide so you can access all round your veg beds.
Don't be tempted to make your paths curve, or wiggle round corners. All you'll do is take the short cut, especially when you're tired or in a hurry, and that's usually across a vegetable bed.
Mown grass might seem an easy option, but needs maintaining every week through the busy growing season – grass tends to harbour slugs, too. Temporary surfaces like bark chippings are easiest to lay, though they need topping up: your local tree surgeon may be willing to offload surplus chippings for free. Second-hand bricks or paving slabs are the long-lasting solution, as good-looking as they are practical.
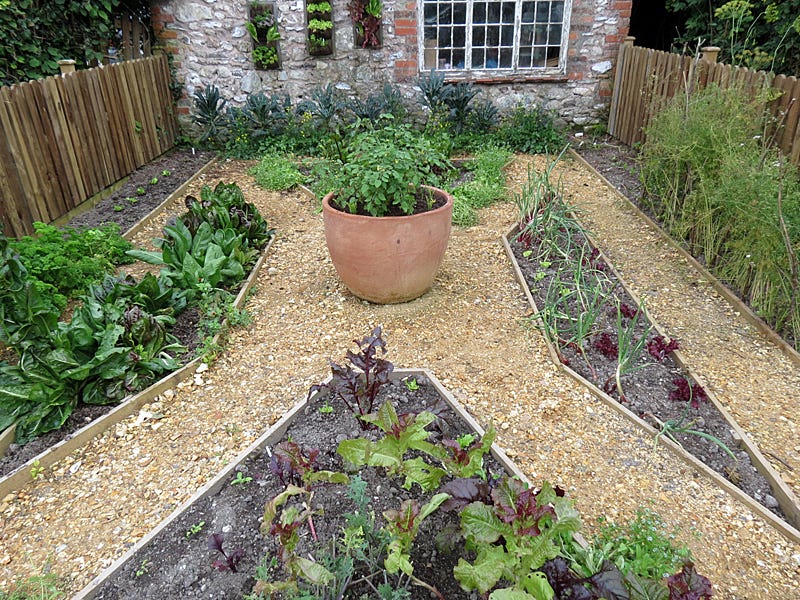
Raising your game
Traditional kitchen gardens arrange veg in rows on all available ground. Though it might seem practical, it's not the most efficient way to run your plot. You'll have to cultivate the whole thing - even areas you'll be walking on - and soil nutrients don't always stay where your crops are.
Raised beds look gorgeous, clearly divide paths from veg beds, and most importantly provide such perfect free-draining, rich growing conditions you'll get twice the yield from the same space. You only weed where you grow, and you don’t even have to dig at all.

Your veg beds can be whatever shape or size you want, but limit the width to 1.2m (4ft) so you can reach into the middle without treading on the soil. Choose where you'll grow permanent crops, like fruit, Jerusalem artichokes or rhubarb, first.
Design your beds in roughly equal groups of four if you want to practice a traditional rotation scheme: plant crops in a different bed each year avoids pests and diseases proliferating and keeps your plot productive. Plant up each section with plants from the same family – roots in the first, then brassicas, legumes and either potatoes or crops with no rotation group, like chard. Then move them on by one bed each year. It's an easy, commonsense way of arranging your plot which pays dividends in the long run.
Or you can just forget that and plant willy-nilly, as you feel the need, mixing up your crops all together in one big polyculture. It’s easier to remember, there’s some evidence that plants grow better in groups anyway, and it’s much more straightforward. For the full argument on rotation vs no rotation, have a read of this post I wrote earlier.
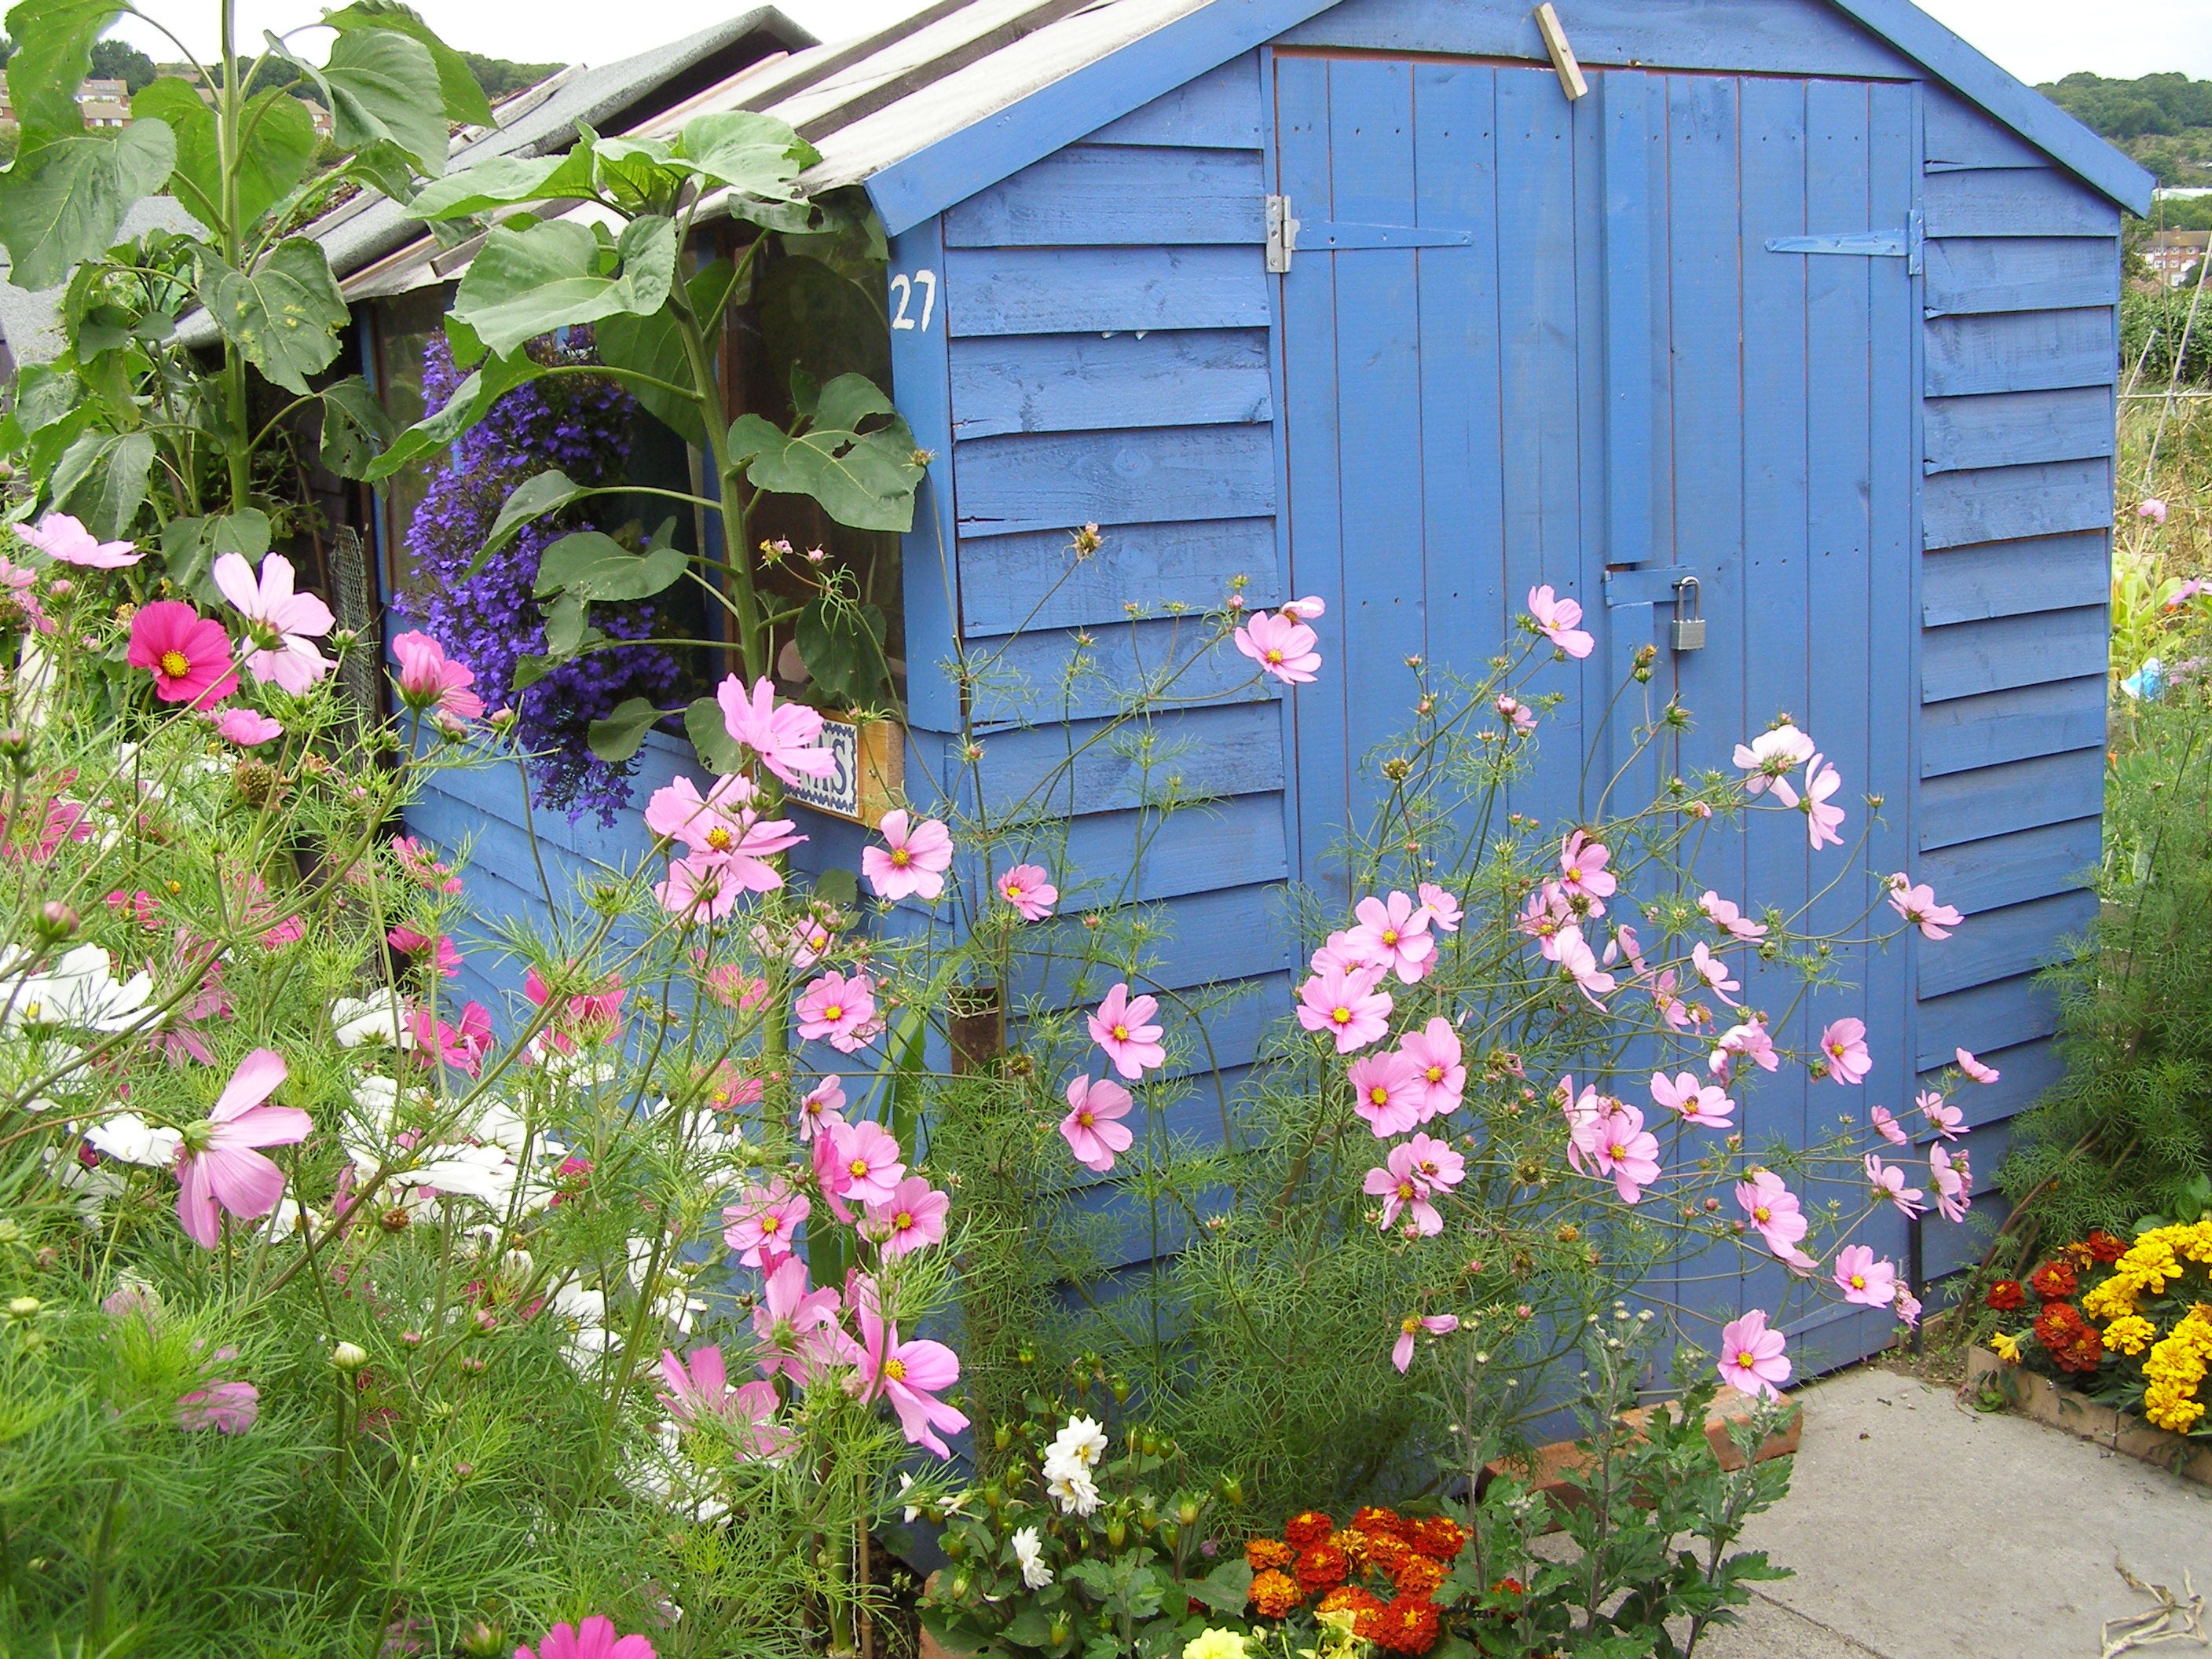
Home sweet home
It might look like a ramshackle heap of old planks, but when you’re a gardener it’s a home from home. A shed gives you a place to hang your cap (and your tools), and somewhere dry to sit and have a well-earned cuppa.
There’s no need to buy new: you can cobble together your shed from all sorts of recycled treasures, from spare windows to discarded doors to pallet wood. If you’re not so handy, look for cheap second-hand sheds in the local small-ads or in online marketplaces.
It takes a while to work out the ideal spot for your shed, so this is one of your bits of 'furniture' you may need to move about before you've got the plan right. Remember to mark where the door is, and any windows, so you can make sure access (and the view!) are as good as possible.
Pick a flat area facing away from the wind, and allow at least 60cm (2ft) all around for maintenance. Avoid prime growing sites: that tricky spot under a tree or along the shady side of the allotment is perfect.
Add guttering and tank to catch rainwater, put a few shelves inside and some hooks for your tools, and you’ll feel right at home.
Adding the furniture
As well as a shed, there are plenty of other moveable feasts you could include:
Compost bins: a must-have for recycling barrowloads of green waste. You'll need at least two, and preferably three – one to fill, one to rot and one to use. Site them away from your tea-break spot, though, as they're not pretty.
Water butts: every drop of rainwater is precious, so allow space for water storage alongside every shed and greenhouse. A good rule of thumb is 1000 litres (220 gallons) capacity - that’s five decent sized water butts - to keep an allotment-sized 250m2 (300 square yards) plot watered in all but the most drought-stricken years.
Greenhouse: available second-hand from the small-ads and online marketplaces. Greenhouses need a sunny spot and more or less level ground. They'll expand your range into hothouse tomatoes, cucumbers or even exotics like tomatilloes.
Coldframes: if you haven't room (or inclination) for a greenhouse a coldframe provides protection for seedlings and doubles up as a melon house in summer. Make one yourself from a wooden frame or stacked bricks, using old windows for lights.
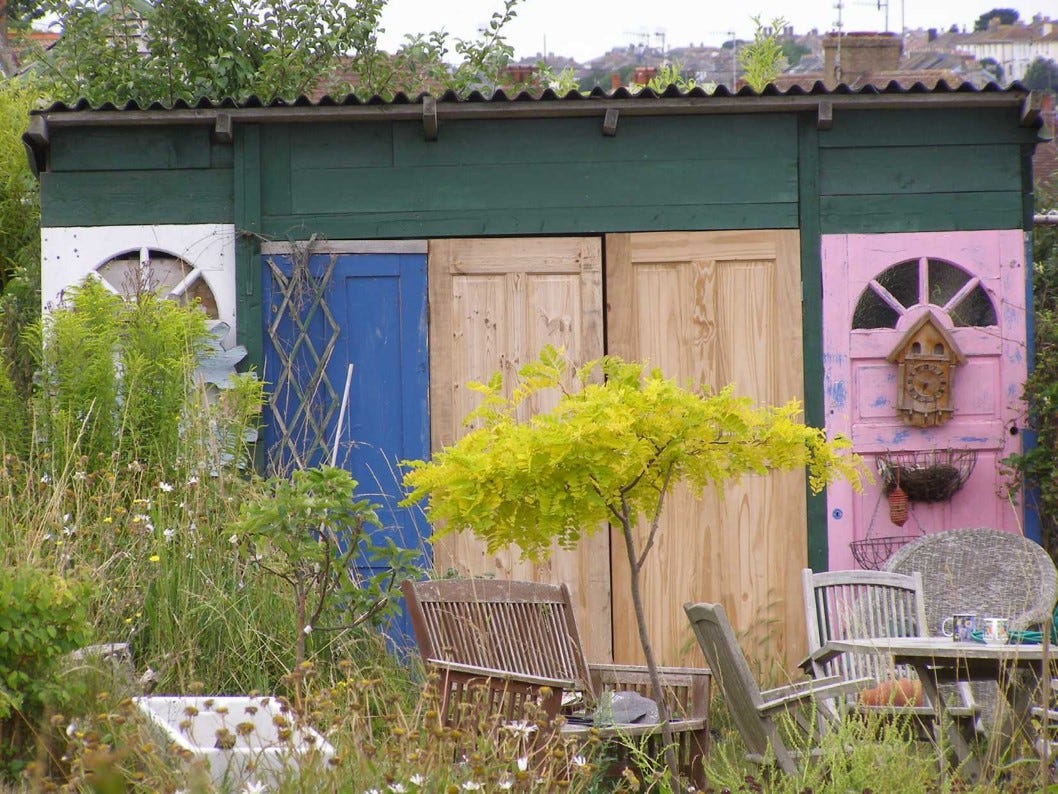
Take a seat
Amid all this frantic planning for your vegetables, don't forget to include something for yourself.
At the end of a long session weeding, there’s nothing nicer than a hot cup of tea and a sit down. A dedicated seating area might seem like a luxury, but when you sink into that chair with a grateful sigh, you’ll be glad of it.
Old garden seats, pub benches or fold-up chairs you can store in the shed are all good choices. The site should be level, reasonably sunny and not too close to the compost bins. If you want to, you could pave it or deck it with wood salvaged from old pallets.
Three ways to build a compost bin
Take four identical pallets, as large as you can find, with the slats not too far apart. Then stand them on their edges and lash them together: you can do this simply with wire, or screw a ‘plate’ made from an offcut of wood across each corner, top and bottom. To empty, simply remove the front pallet.
Stand four 1.2m (4ft) lengths of 5cmx5cm (2” x 2”) wood at each corner of a square. Nail on planks of wood to make a three-sided box, leaving a 2cm (1”) gap between each layer. Nail a second upright 2cm (1”) behind the front pair to make a channel, then cut planks to fit and slot them in on top of each other as you fill the bin.
Stack second hand bricks or breeze blocks in staggered rows, leaving a gap of 2cm (1”) between the ends of each brick for ventilation. Either mortar them together into a three-sided box (turn bricks at the front edge inwards to hold planks of wood for the front); or for a temporary bin, simply dry stack them and dismantle the whole thing once the compost is ready.
The photo of the salad/fruit garden from your analogue plan is brilliant …… so inspiring, thanks Sally.