


Everything I haven't done, sustainable paving and mangetouts gone AWOL

It’s the Land of the Half-Finished Job round my place at the moment.
I’ve been shooting out to do what I can in any dry spell between the relentless bouts of heavy rain for months now. The trouble with that approach is that you quite often forget what you were doing the last time and start a new project altogether while the previous one moulders unfinished and forgotten.
So I have a half-repaired rabbit fence; two barn cloches assembled and two still in bits on the floor; the broken wires behind the loganberries removed but the stems not tied back in again (getting urgent, that one); and weeds winkled out of my higgledy-piggledy crazy paving paths but the joints not repointed.
This last has been a job that’s been getting a little more necessary each season, but I’ve been dithering over how to do it without using cement – one of the most polluting, high-carbon and generally nasty of hard landscaping materials.
I pondered sowing or planting into the cracks instead of filling them – some creeping herb like low-growing Corsican mint (Mentha requienii) or maybe thyme (Thymus serpyllum) to send puffs of scent up with every step. Thyme in particular is bewitching in flower when used like this – it’s like covering your paths in little pink scented cushions.
But really you need completely weed-free joints to plant into to give them half a chance to establish: and I have some real thugs beneath the paving, including hogweed and dandelions.
Removing these persistent invaders permanently would involve either herbicides (so that’s a no) or lifting the paving, digging everything underneath it out and then re-laying it all, the thought of which just makes me want to go and lie down in a dark room somewhere for a while.
Well: the conventional way to repoint paving is to hoick out weeds, mud and residual jointing mortar with a paving knife and then repoint with new cement mortar. I thought repointing always involved cement: until I discovered jointing sand.
This is sand mixed with additives like silica which bind it together once it gets wet, so it sets hard. I am a little bit doubtful about it, since I’m suspicious that some of the additives may be plastic (anyone know for sure?) – but I think on balance, while not perfect, it’s still probably an improvement on cement. Now I’m just waiting for the requisite long spell of dry weather which will enable me to brush it dry into the cracks in the paving.
Anyway: I must get on and tie up all those loose ends while I still can, as it’s Easter in a week’s time, the clocks go forward and the second wave of spring is on the horizon – much bigger and much busier, and it’ll last through till May. Whatever I haven’t done by this weekend, will probably stay undone: and it’s raining again today.
Meanwhile the seeds I sowed at the start of the month are mostly up and thriving. All were sown in peat-free compost, by the way – partly my own mix, partly ordinary bagged multipurpose. I watered them carefully, making sure I didn’t slosh on so much it ran out the bottom of the pot taking the nutrients with it; and I began feeding, half-strength (so one capful of seaweed feed to a watering can) once a week from the moment the seedlings were up.
The only ones which haven’t come up are the mangetout peas, which have had really poor germination rates. This is disappointing, and a little puzzling too: they’re tucked safely inside the mouse-proof cage, so I think I can rule out unwanted visitors, and they’re sown in the same mix as everything else which has germinated perfectly well.
So I think it’s probably the seed. It’s a year or two old, and may have got damp in storage, or simply deteriorated a bit faster than is usual. They were bought-in seed, so probably a bit older than is ideal: I will make more of a point of saving my own mangetout seeds this year, then.
You can pre-germinate seed to avoid this happening: lay your pea seeds on a piece of dampened kitchen towel, keep somewhere warm and within a week or so you’ll see little radicles (baby roots) emerging from those seeds which are viable. Pot these up very carefully – handling with tweezers – and you can be pretty sure they’ll grow. I will do this with the remainder of the seed packet (waste not want not!) before I try sowing again.
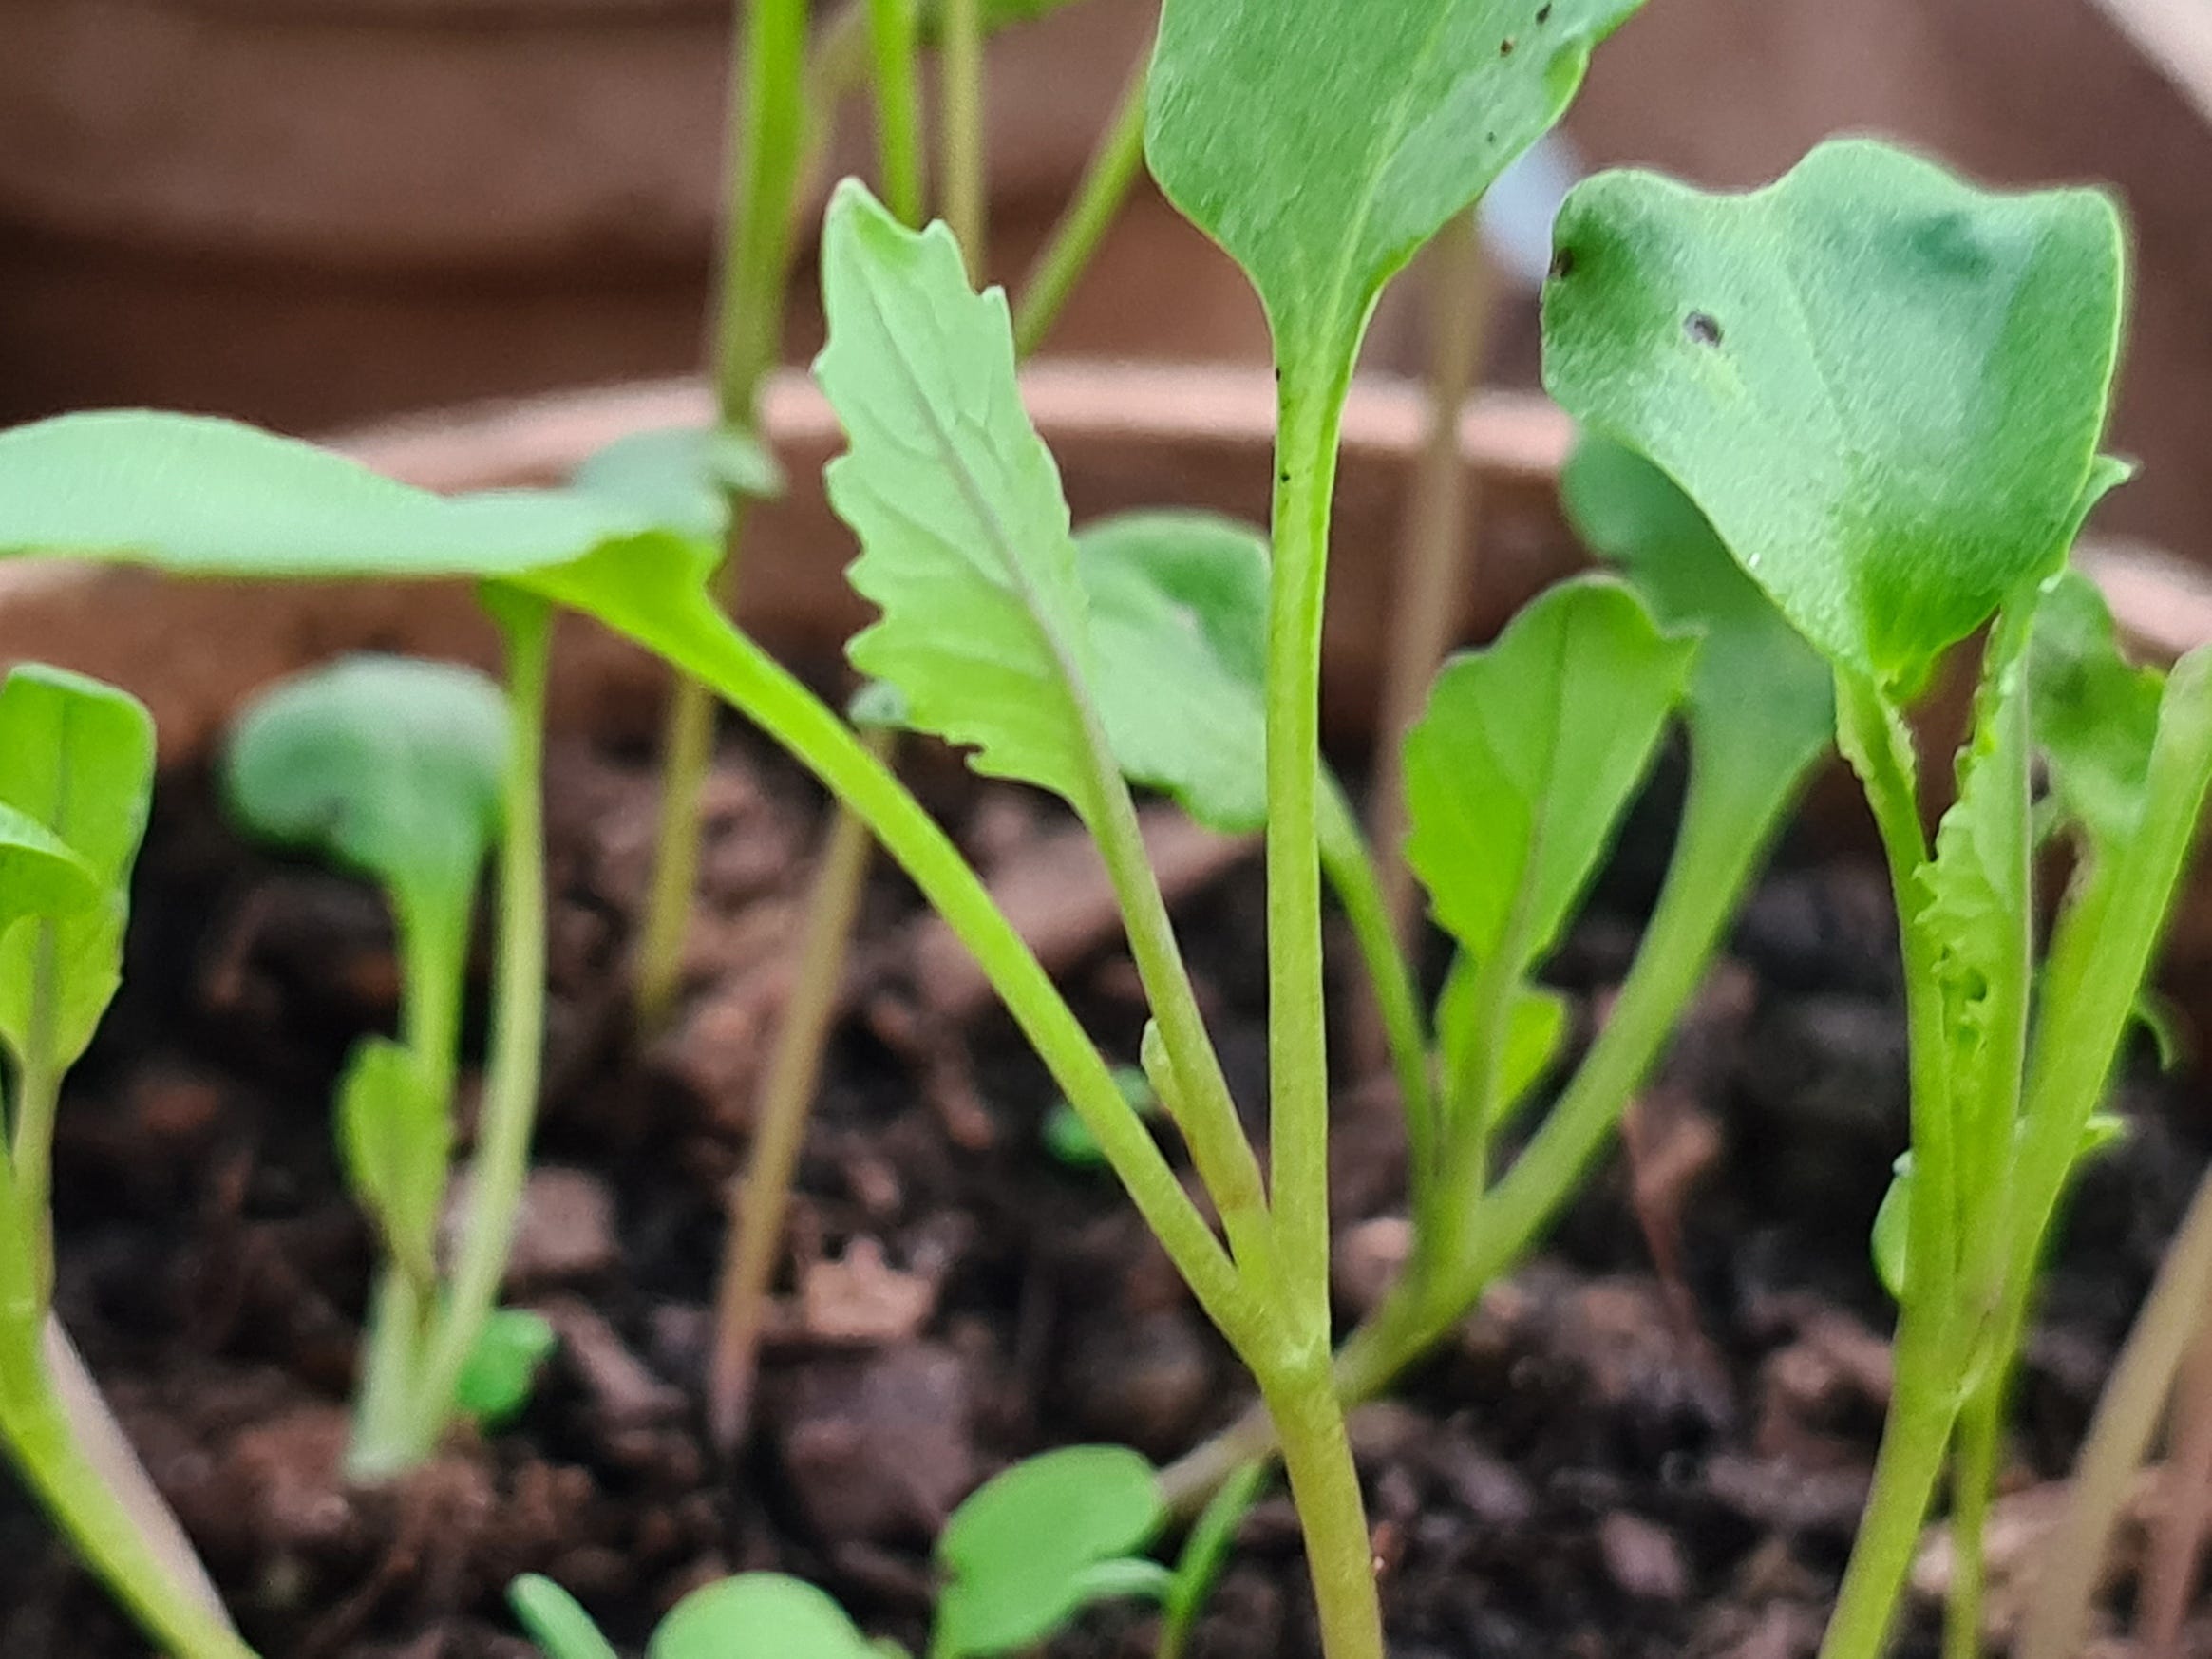
Those seedlings which have their ‘true’ leaves are ready to be pricked out. True leaves are quite easy to tell from seedling, or cotyledon leaves; they look like the leaves of the adult plant and often have toothed edges, or perhaps a textured surface. Cotyledon leaves - the ones which first emerge - are simple, smooth, often rounded, and usually quite different in appearance. It’s worth waiting till you have true leaves, since it’s a sign you have a good root system underneath and the seedling is strong enough to take the disruption of transplanting.
Always handle your seedlings by the leaves when you’re moving them into a new pot, by the way: if you pick them up by the stem, and then the stem breaks, it’s game over – whereas if you just tear a leaf the seedling can always grow another.
Enjoy the last week of relative peace and quiet: once Easter weekend hits we’ll be on a rollercoaster that won’t so much as slow down till later this summer, by which time – maybe – the rain will have stopped, with a bit of luck! Happy gardening.